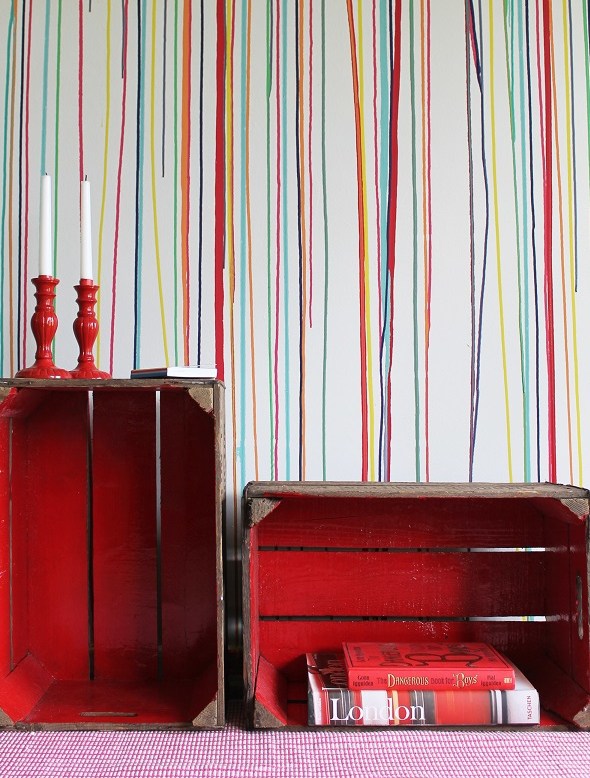
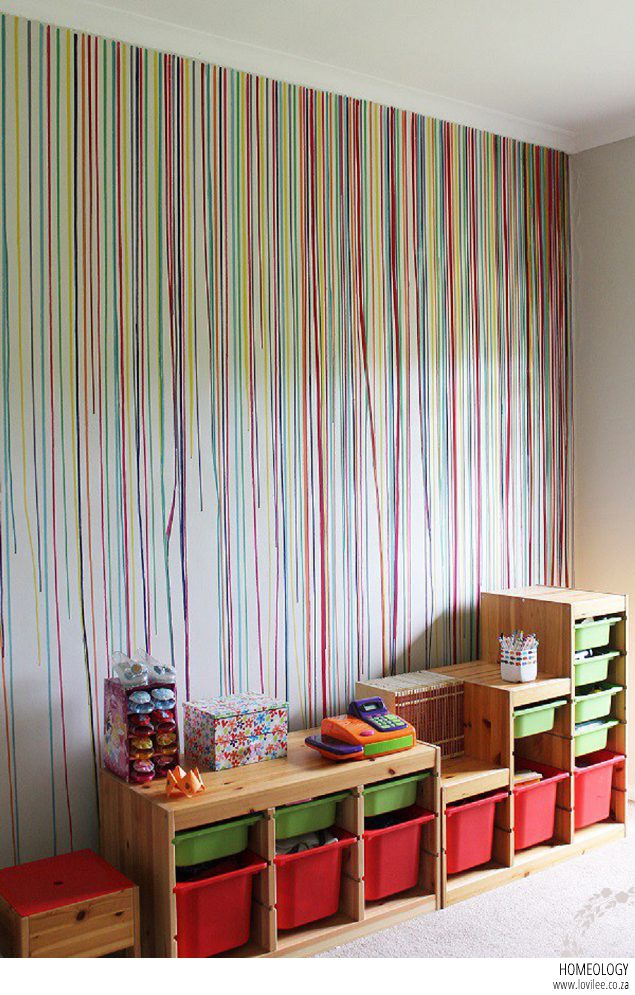
One of my favourite paint projects on homeology to date has to be this Drippy wall DIY tutorial that we shared. It’s a very simple project although it takes a bit of planning, but once you get it right, it’s great fun. Try your own room paint DIY this Spring with a riot of colour!
What you will need
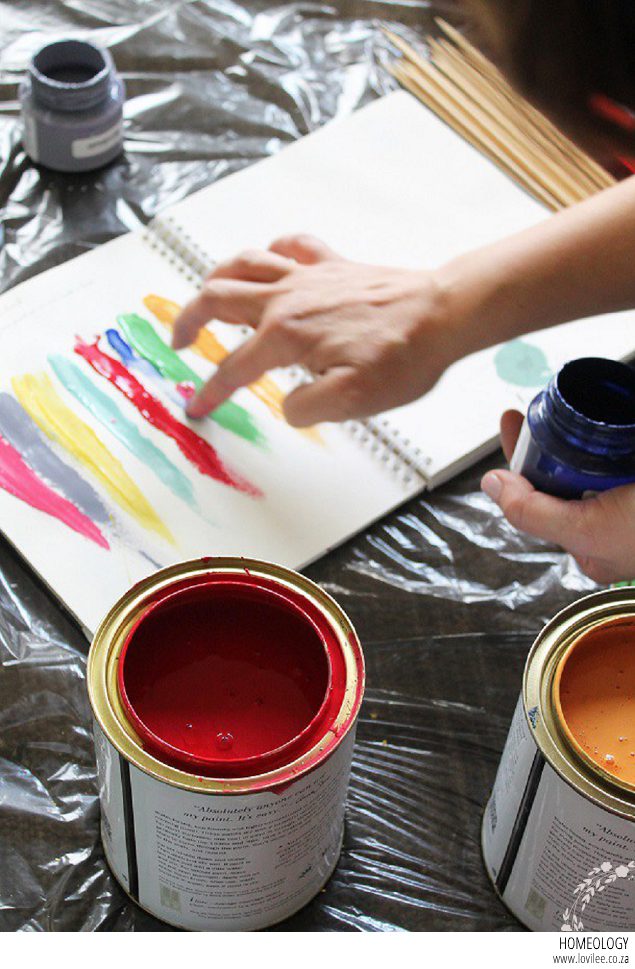
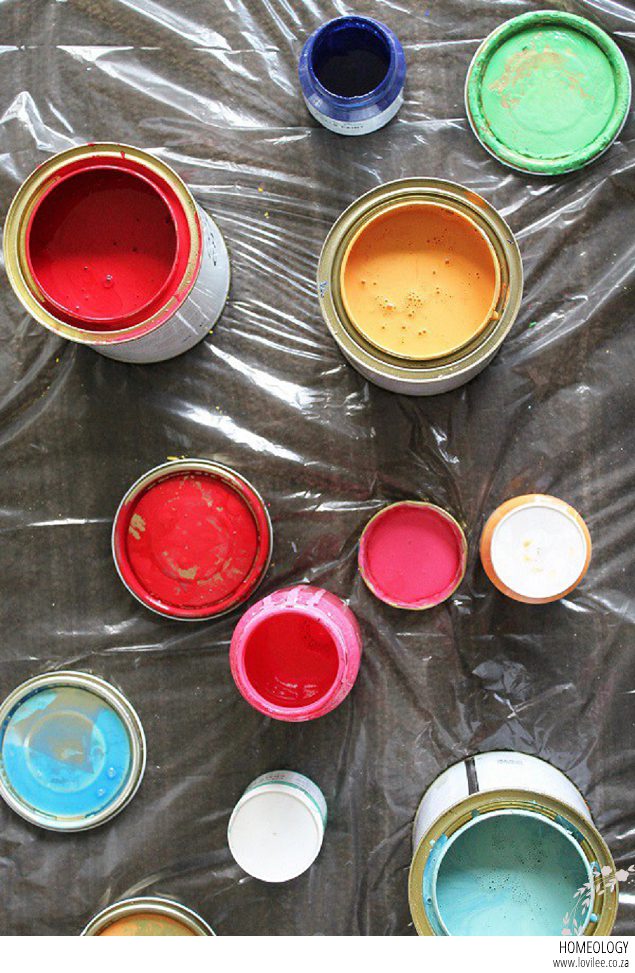
- A variety of paint colours (we used Chalk Paint ® decorative paint by Annie Sloan in Emperor’s Silk, Napoleonic Blue, Antibes, Barcelona Orange, English Yellow and Florence).
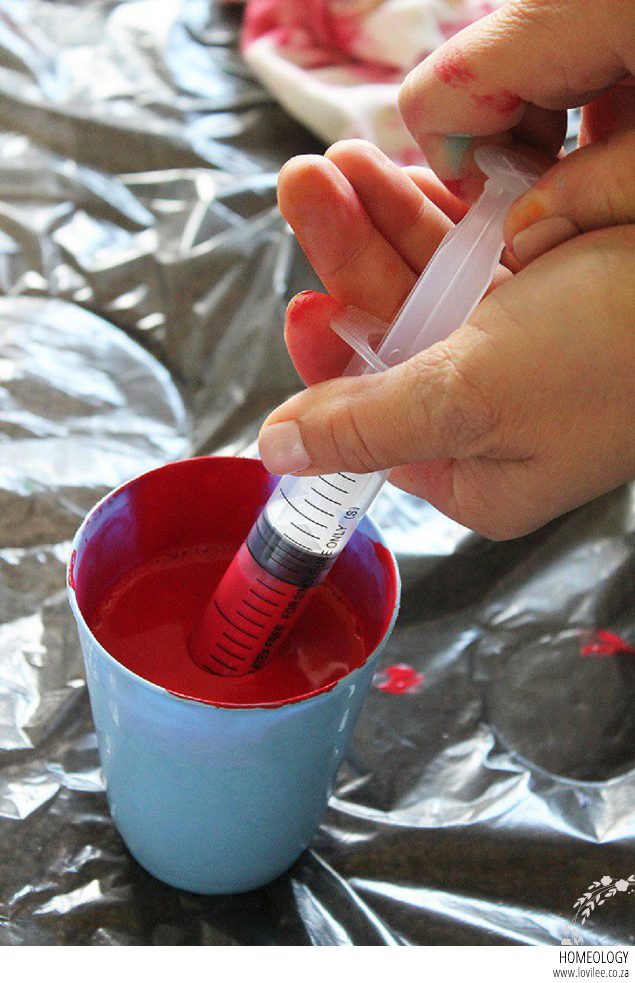
- A different 20ml syringe for each colour.
- Masking tape
- Drop sheets
- Paper to protect your floors
STEP 1
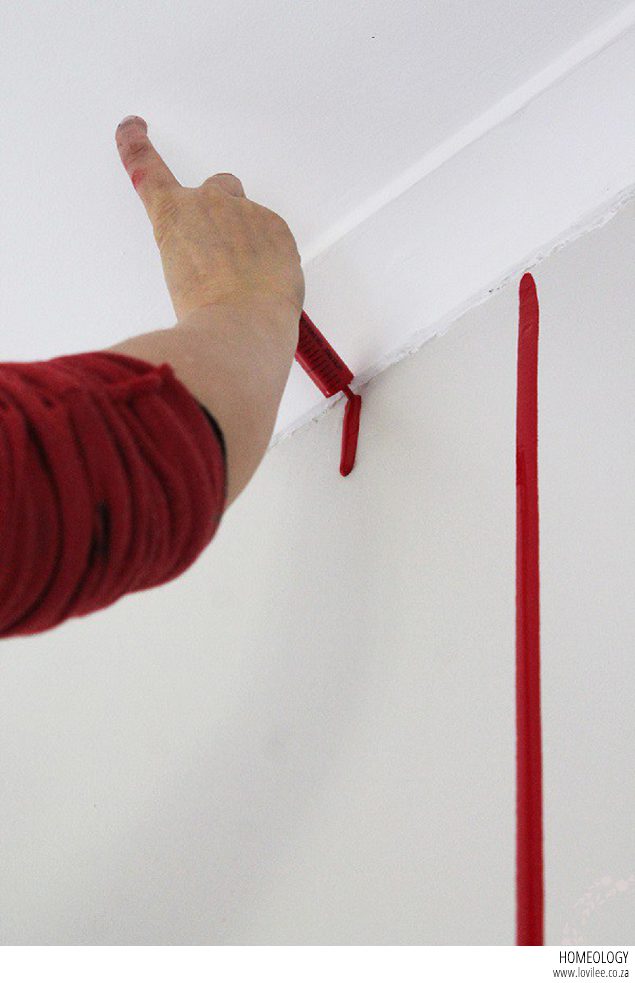
Suck the paint into the syringe (don’t dilute it). At first, I used 20ml per line – THIS IS WAY TOO MUCH! The paint kept running and running for a good 30mins after application, so start with between 3 and 5ml until you get the hang of it.)
STEP 2
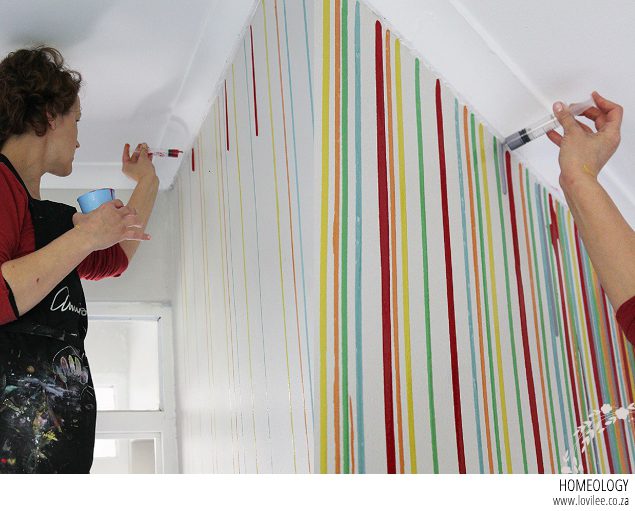
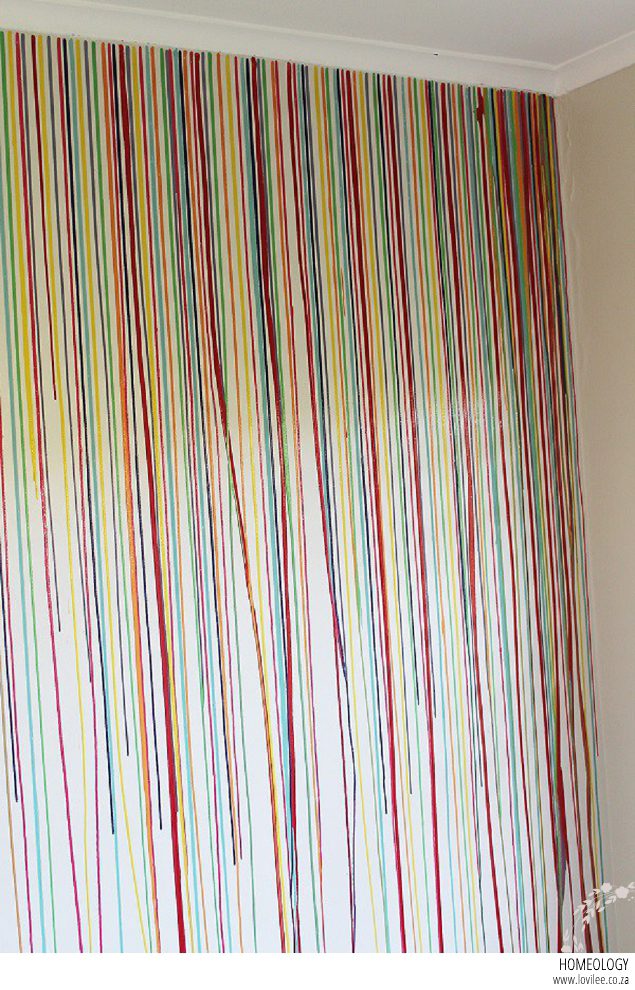
Carefully place the syringe as close to the cornice as possible and slowly push the paint out. Finish one colour at a time, keeping the lines dense and long on the one end and making them gradually more sparse and shorter toward the other end of the wall.
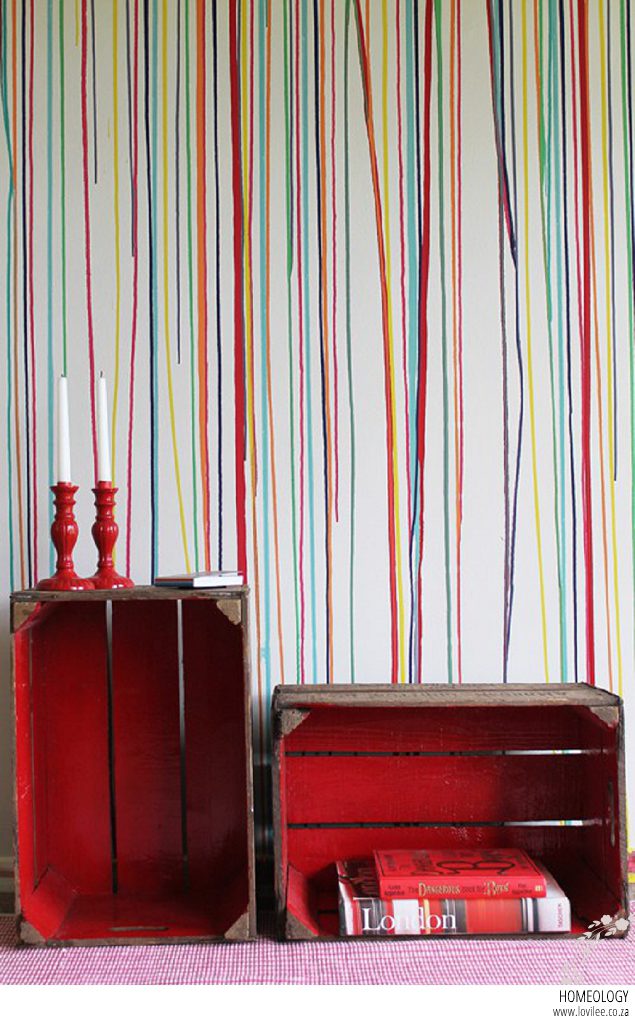
It’s amazing to see what the paint does: some of the lines run perfectly straight down, others have a mind of their own and go off in their own direction (the fan that we turned on at some point may have had something to do with a few of them taking off diagonally!). Some of the lines even merged to form new and interesting colours of their own. So all in all, every wall using this method will be entirely unique!
We’d love to see what you do with this, so choose a wall, get your paint out and get creative. Please send us your pictures!
Let's get social
Instagram: @lovilee_zaTwitter: @lovilee_za
Facebook: @lovileeblog
or subscribe to never miss out on any new articles in this link.



Comments are closed.