Many moons ago Colleen from Lieflingkind shared a lovilee DIY locally foraged wreathing tutorial. I tried my hand at wreathing before using material, but never making use of plants. This past weekend I took the plunge… Using an old wire coat hanger… This all came about after visiting Hobby X with Dremel which totally gave me a creative boost!
Wreathing: The process of creating wreaths
I have been following a lady from the UK, Olga Prinku on Instagram for a while. Her wreathing work is truly amazing. She showcases her unique knitting and wreathing on her blog and it got me so inspired that I tried to make my own wreath using an old wire coat hanger.
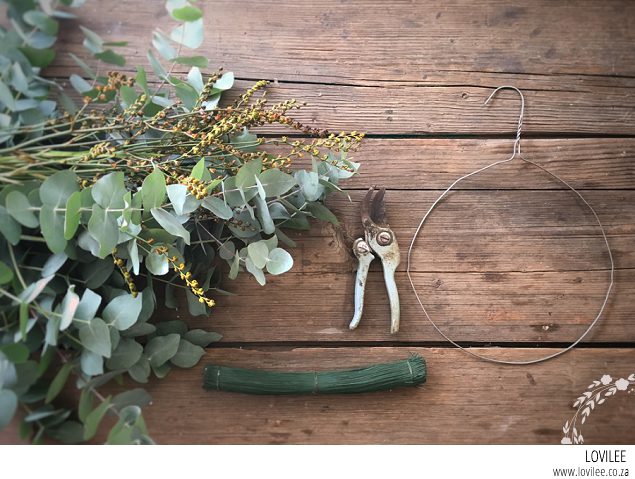
- Wire coat hanger
- Greenery of your choice. Eucalyptus is always a great choice as it also dries nicely.
- Florist wire
- Pruning shears
Step-by-step instructions
-
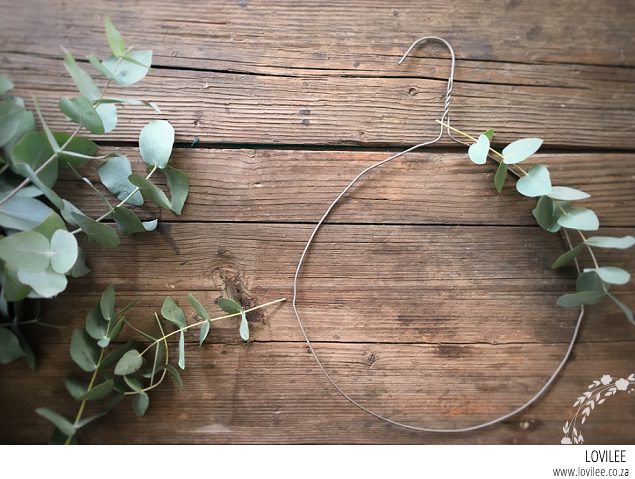
- Bend the wire hanger by hand to form a circle. I had to call in some man power for this part.
- Start by separating parts of the greenery into smaller sections using the pruning shears.
-
- I started with my wreath at the top of the hanger and worked my way clockwise around. The other option is to start both the left and right sides from the top, meeting up at the bottom or from bottom to top, depending on the look that you want to create. you also do not have to wreath the whole hanger, only part of it will do.
-
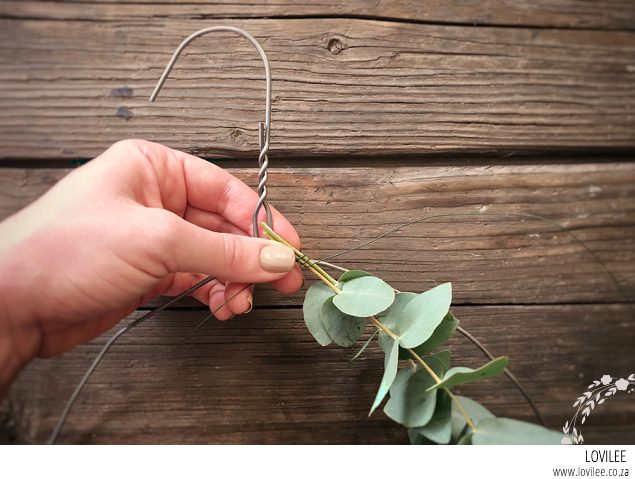
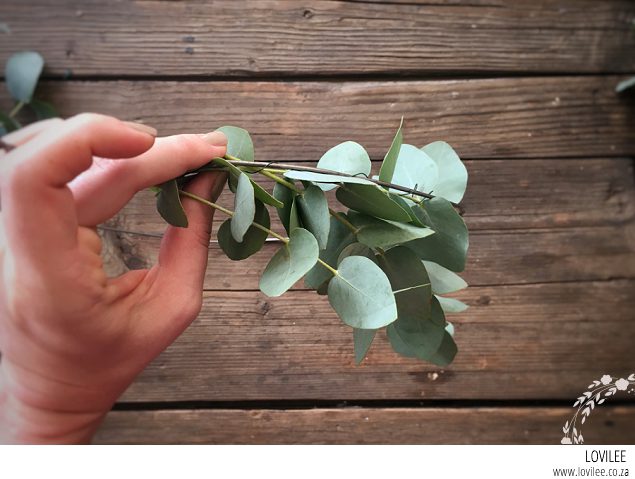
- Attach the greenery to the hanger making use of florist wire.
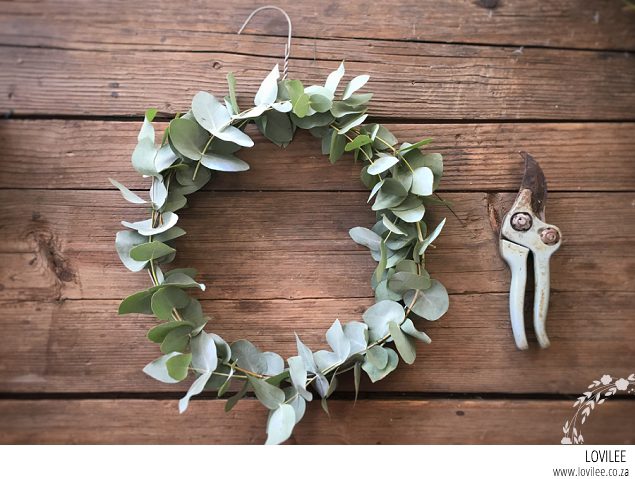
-
- You can now add some flowers or seed-like branches as accents to the greenery.
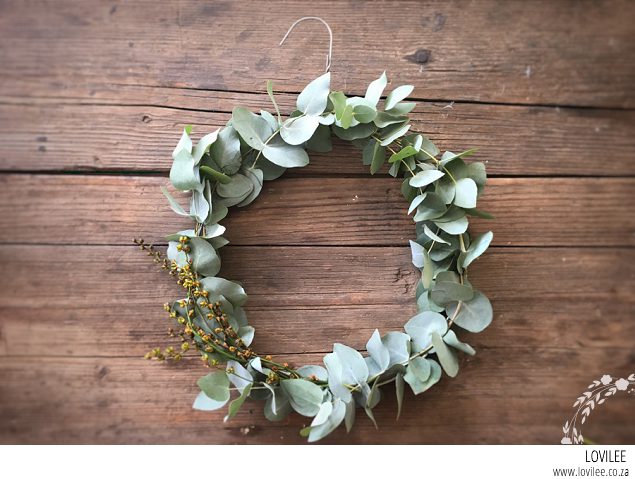
- If need be you can prune pieces that are out of place.
Hang your wreath somewhere where it can inspire you on a daily basis! Tell me what you think of this tutorial by leaving a comment below. And if you decide to do some wreathing don’t forget to tag me using #lovilee on Instagram!


Let's get social
Instagram: @lovilee_zaTwitter: @lovilee_za
Facebook: @lovileeblog
or subscribe to never miss out on any new articles in this link.




Comments are closed.