Planning a unicorn party or a unicorn bachelorette and looking for some unicorn party supplies? Follow my instructions for a mini unicorn Piñata to tick the first item off the list. Making this pinata was a lot easier than I thought. It took me around 4 hours from start to finish and I could not be more cuffed with the end result.
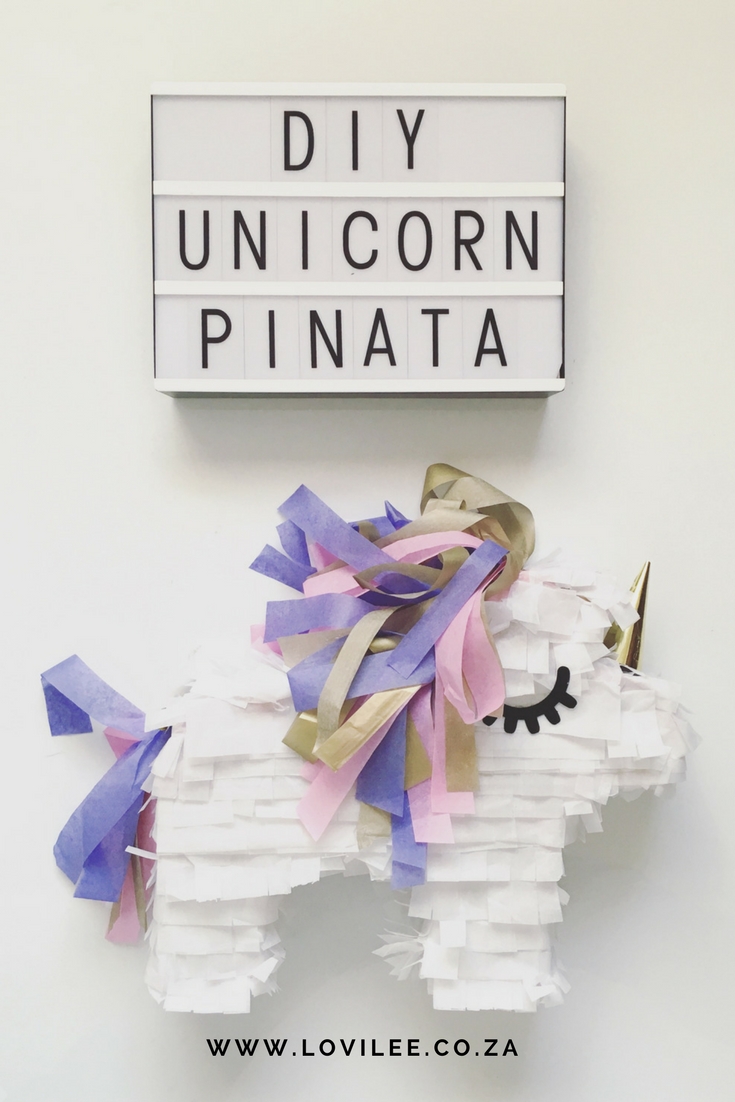
The inspiration behind the making of the unicorn Piñata
I recently bought some goodies from Superbalist and was looking for a project that I could do with the boxes. The lovilees over at Superbalist is all about reducing their wastage an minimizing packaging, so what better way to help my box along the process. I decided to get create trying my hand at a DIY mini unicorn Piñata. Off course this was also a valid excuse to use my pink masking tape from Builders!!!
I was off-course also inspired by the The magical rose gold and pastel Unicorn party that I featured that had some lovilee unicorn party decor and… a unicorn pinata.
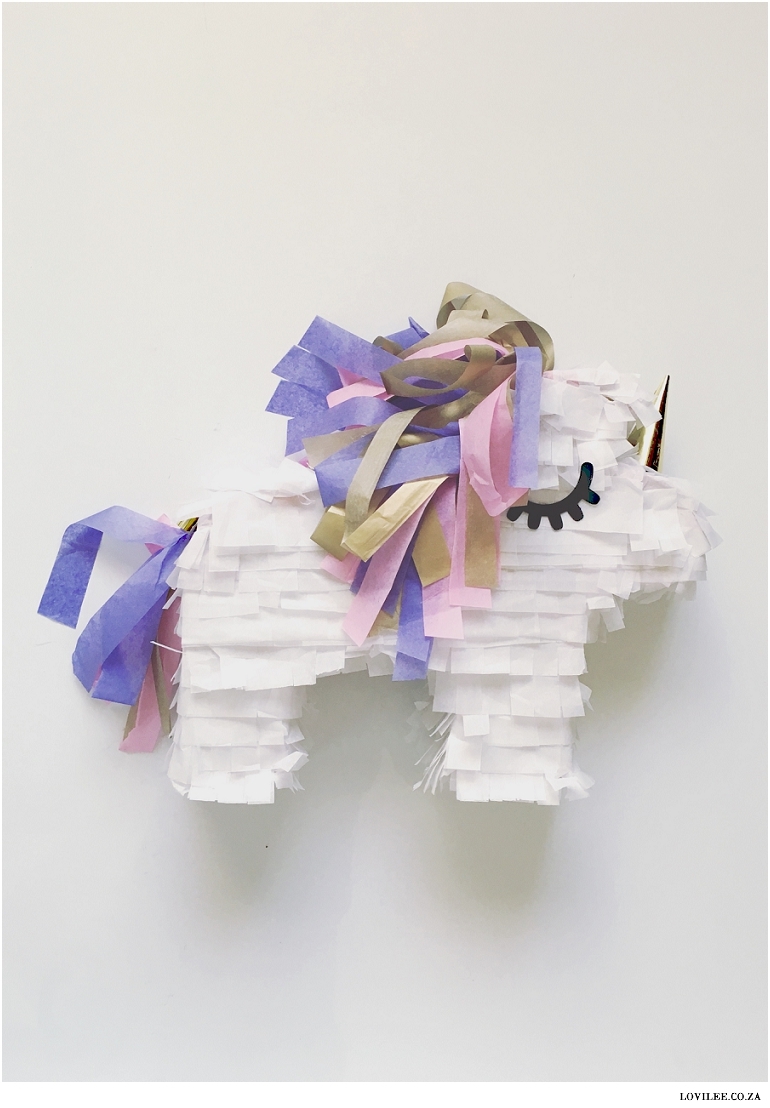
Unicorn pinata instructions
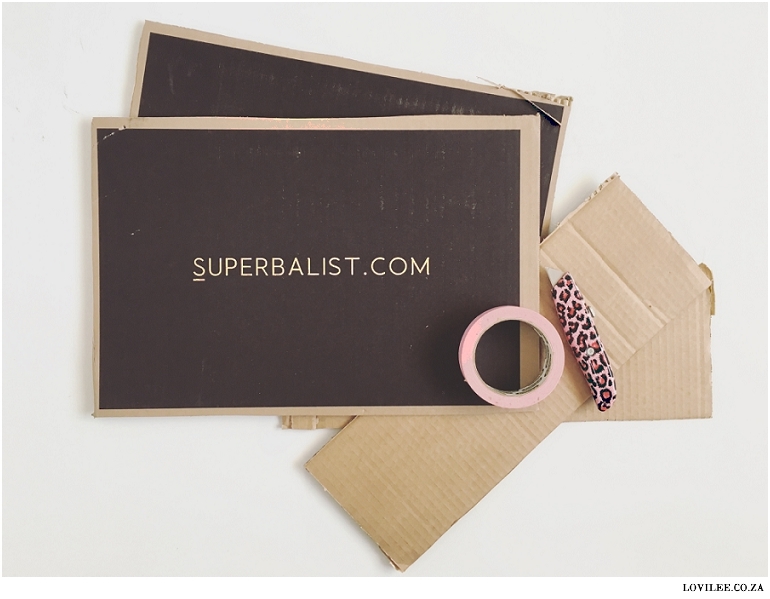
What you will need for the pinata
- Crepe or tissue paper, I made use of tissue paper
- Gold glitter cardboard for the horn
- An old box the approximate size of what you want the unicorn to be
- Black paper or vinyl for the eyes
- Glue gun
- Masking tape
- Pen / pencil / blackboard marker
- Scissors or craft knife
- Ruler
- Paper glue to stick the tissue paper to the box
Step by step mini Piñata instructions
- Cut open a card board box using scissors or a craft knife.
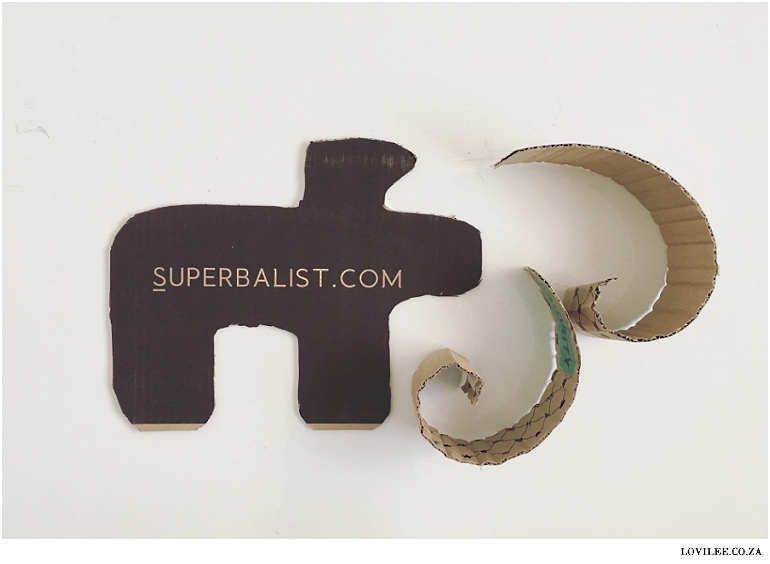
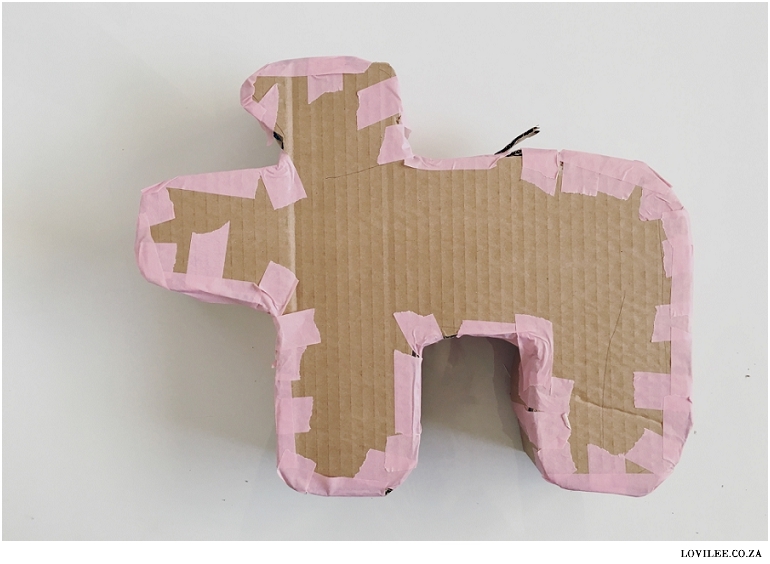
- Draw the shape of the Unicorn on the card board as per the image below and cut two of them out.
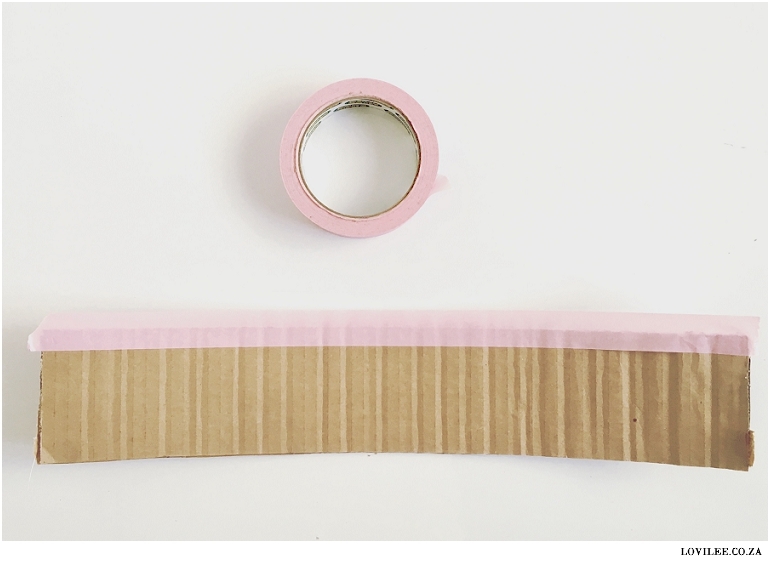
- Cut strips approx 6cm wide that will be used for the sides of the Unicorn. To make them easier to work with roll them up to give them some flex. I used 3 and a half strips in total.
- Stick the cardboard strips to the sides of your unicorn shaped cut outs to create a 3D unicorn using masking tape. (Remember that the whole idea of a Piñata is to be able to break it again to get the sweets out, so it does not have to be perfect and last a lifetime.)
- Continue sticking the pieces together, leaving a gap at the top of the unicorn’s back for the sweets to be put in. (or you can just cut out a small square later.)
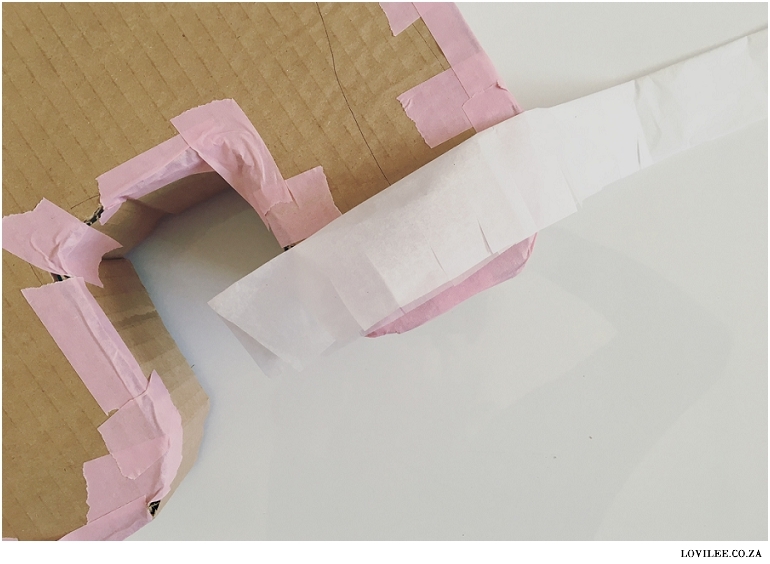
- Now the decorating fun begins! Start by cutting long strips of the white tissue paper, approximately 6-8cm in width. Fold them in half so that the strips are 3-4cm wide and cut the open ended edge to look like frays.
- Using paper glue start pasting the strips onto the unicorn, starting from the bottom (feet) upwards in a spiral. Adding strips as you need. Continue till the whole side of the body and feet are complete.
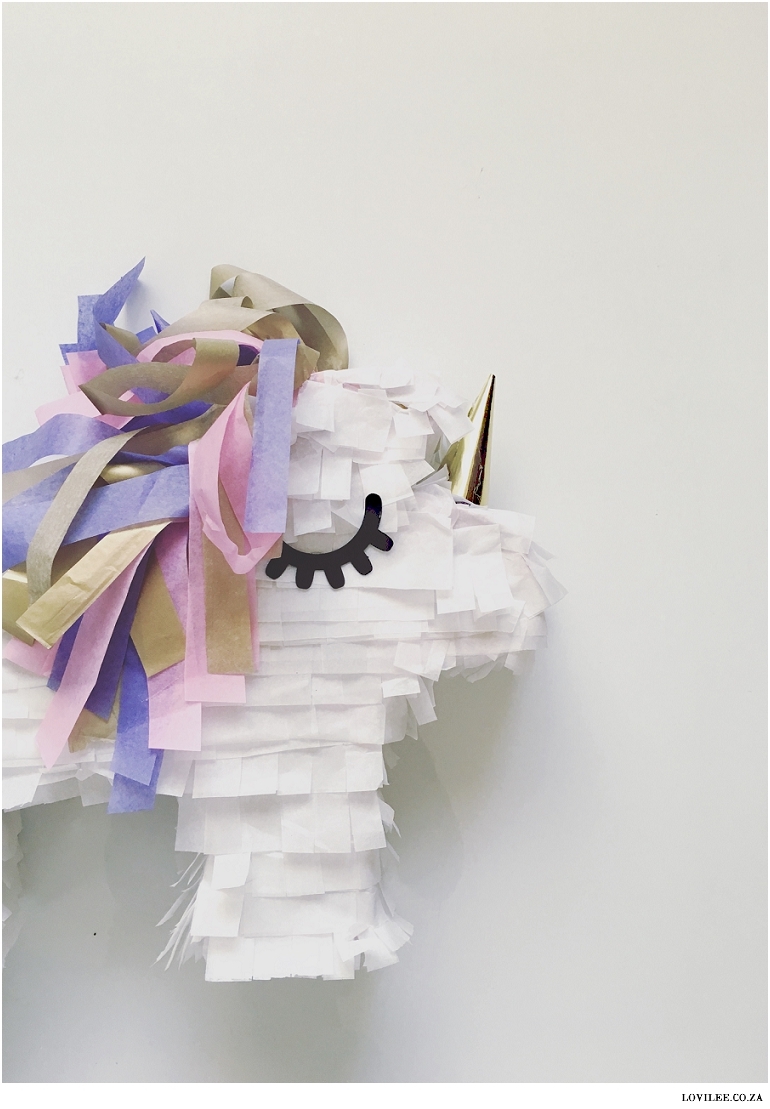
- Before starting on the back and nose of the unicorn it is time to add the rainbow hair. Create long pieces of hair approximately 2cm in width and stick it along the neck of the unicorn making use of your glue gun.
- When you are happy that there is sufficient mane you can cover the rest of the unicorn pinata in white.
- Finally, it is time to add a tail out of rainbow coloured tissue paper as well using a glue gun as well.
- Using some gold paper fold a cone and stick it closed and onto the unicorn using a glue gun.
- Cut out some eyes out of black cardboard or vinyl and stick them onto the unicorn also using the glue gun.
- I added a bow on the tail just for fun.
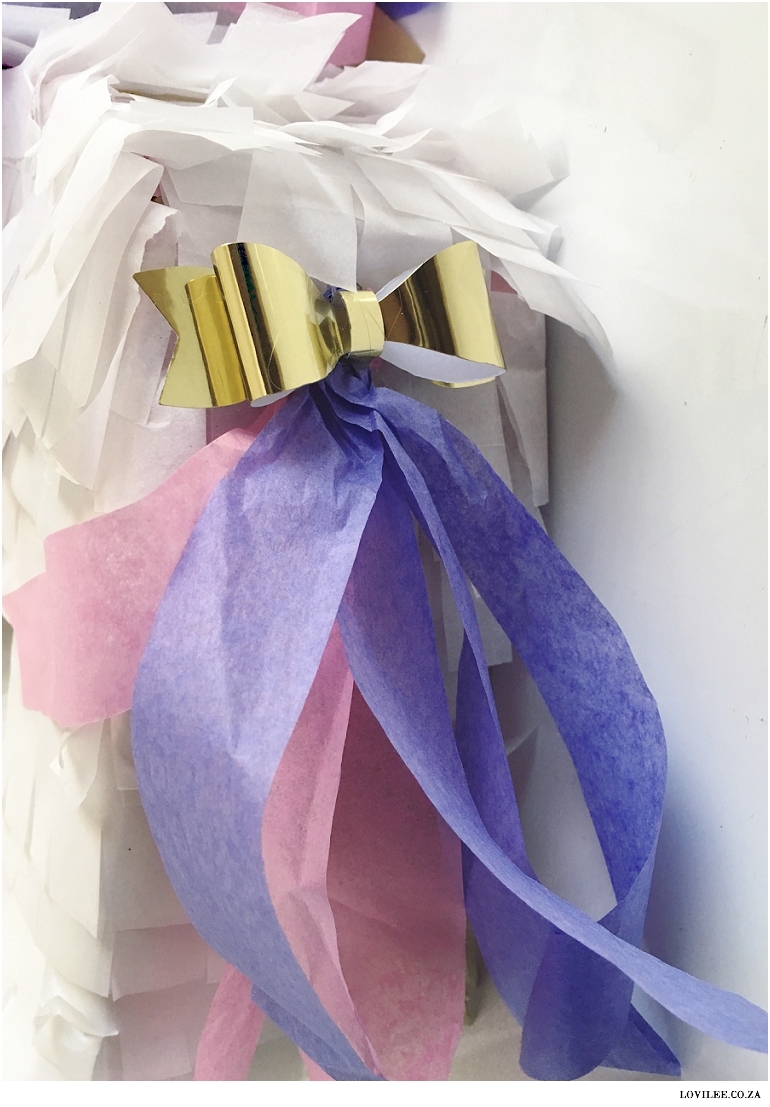
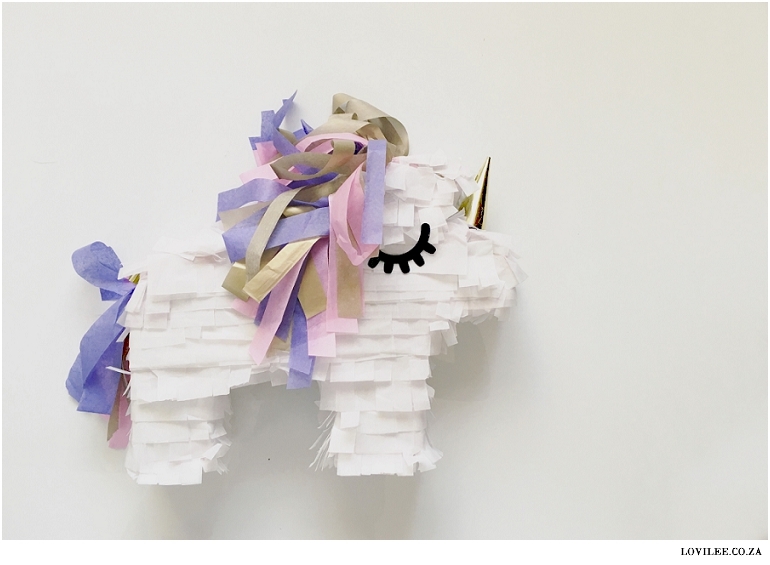
Tada! Magical rainbow happiness is yours with this mini pinata!!!!!
I also shared a DIY unicorn head band tutorial that you might enjoy here that might be the second item that you can mark of your unicorn party supplies list.
Let's get social
Instagram: @lovilee_zaTwitter: @lovilee_za
Facebook: @lovileeblog
or subscribe to never miss out on any new articles in this link.



1 Comment
Well done. Looks lovilee