This month is a ‘Create with Clay’ Creative Challenge. I find playing with clay very relaxing. I remember doing pottery classes every Friday afternoon at School and took the art form up again when Michelle who previously ran this challenge challenged us to pottery and sculpting. When I fell pregnant I gave it up as the morning sickness really ended up being all day. This month I decided that it might be a great opportunity to re-do this challenge, but broaden it to any type of clay.
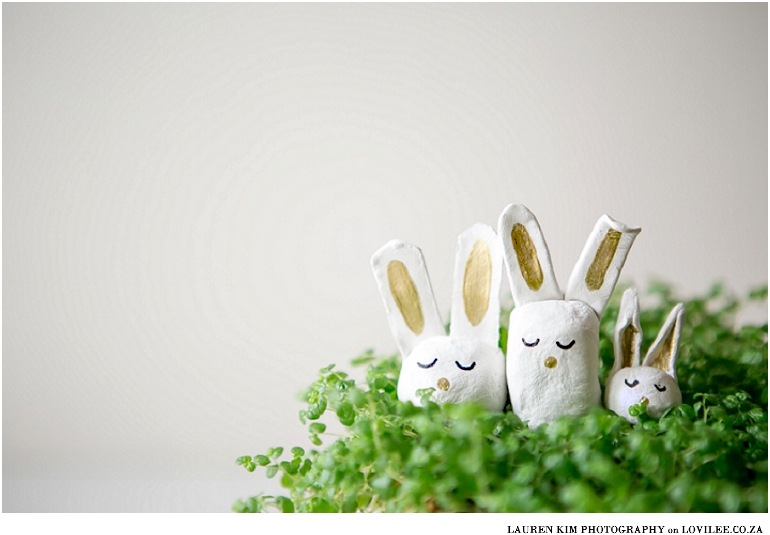
Lauren got me into this Air dry clay DIY craze when she shared the clay bunny tutorial earlier this year as part of our Bunny / Easter theme. I have been having much fun playing clay with my five year old since then.
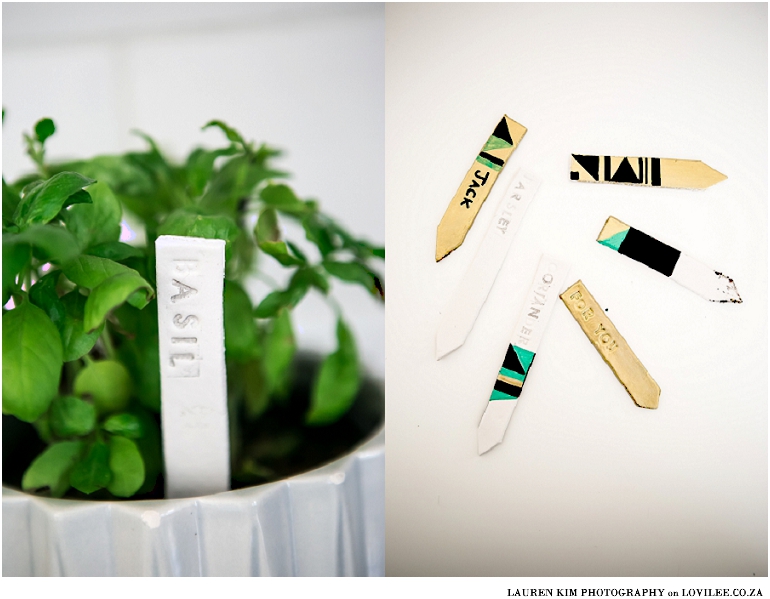
Lauren also shared these air dry clay DIY plant markers with us. See the article here.
Air dry clay DIY trinket
Note that I did the project over a course of three days as you have to allow the clay to dry completely before painting.
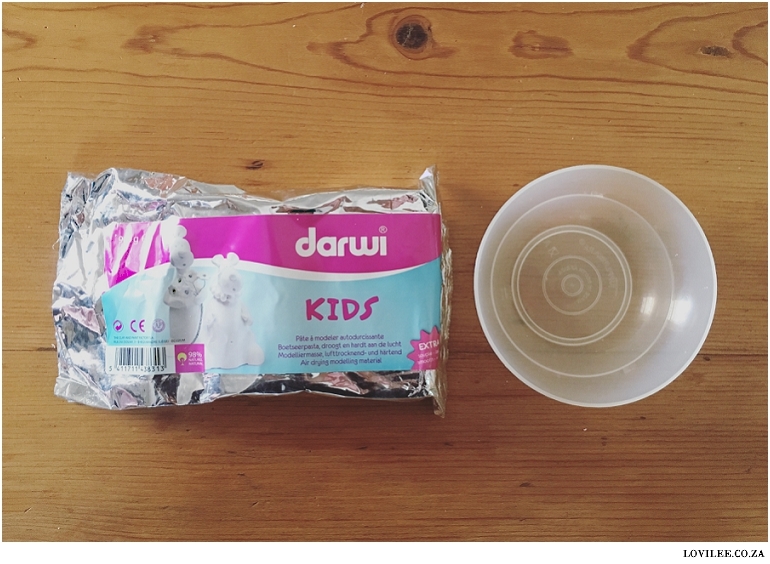

What you will need?
- Air Dry clay
- Plastic container as mould
- Sharp knife
- Jar of water
- Craft paint of your choice or sharpie pens
- Paint brush
- Clear varnish
- Paint brush for the varnish
How to?
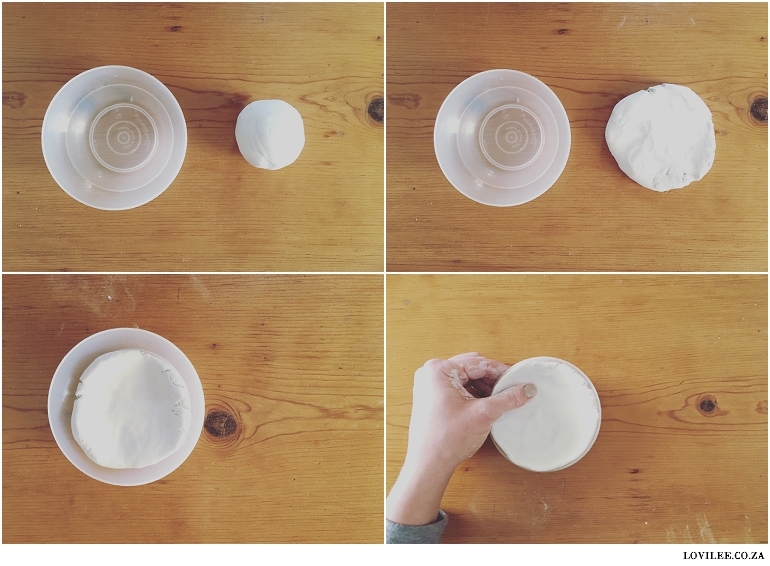
- Roll a piece of clay into a ball and flatten it somewhat with your hand.
- Place the clay into the middle of the container that you want to use as mould and start working from the middle outward pressing the clay in an upwards motion to fill the mould.
- The clay should be at least 0.5cm thick to allow it to be sturdy enough for a trinket bowl. you can cut the pieces that overlap the sides of the bowl off with a sharp knife.
- Wet your fingertips and run them around the edges of the clay to smoothen them out.
- Wait for the clay to dry completely before trying to remove it from the bowl.
- You can now paint patterns on the bowl or use a sharpie pen to draw on it.
- Once the paint is completely dry you can apply a coat of transparent sealer or varnish.

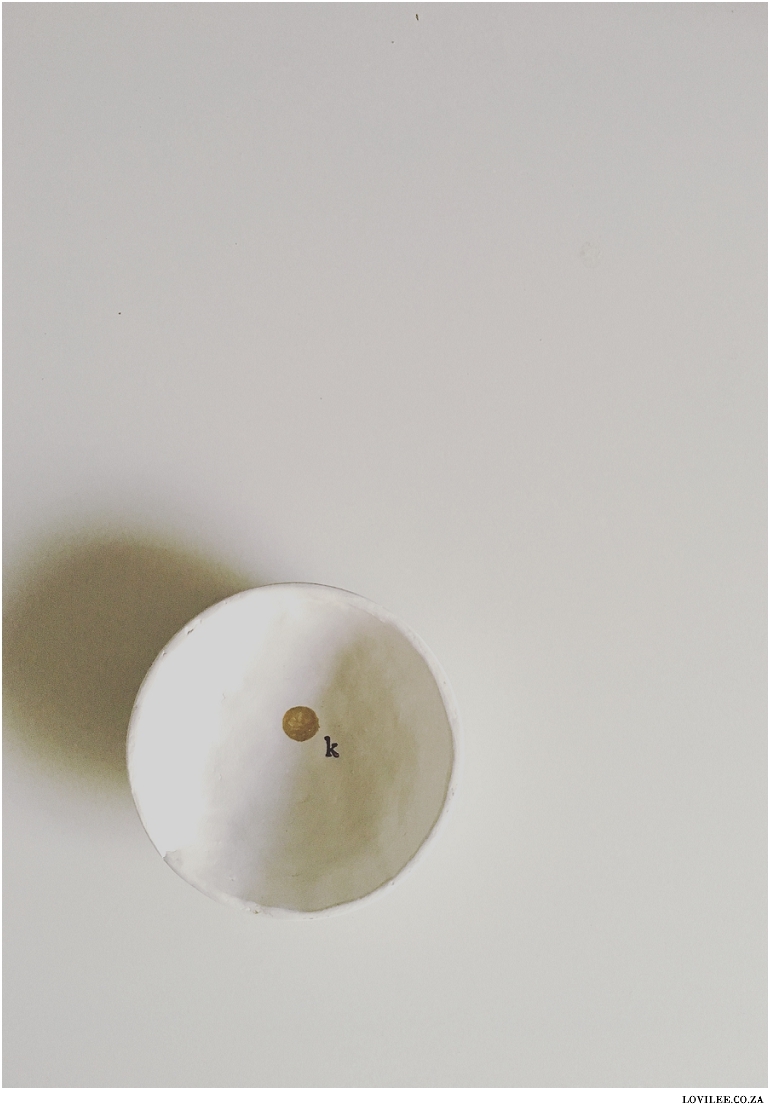
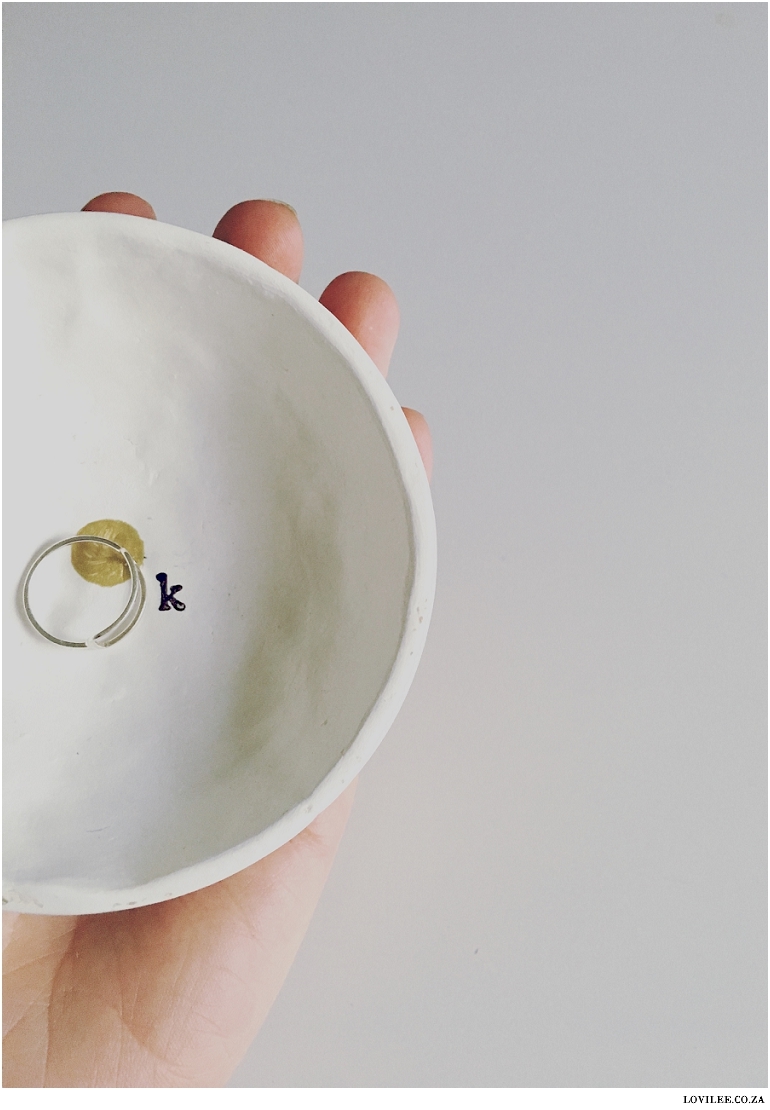
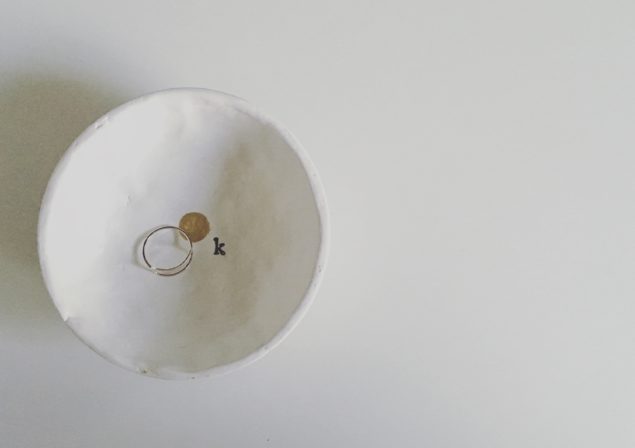
What do you think of my clay trinket? It is the perfect place to store some jewellery!
Thank you to everyone that took part in last months’ soft toy challenge, there were some really cute submissions. You can submit images of your projects or ask questions to the Creative Challenge Facebook Group or on Instagram using the hashtag #lovileecraft.
What we have done thus far this year
- Month 1 – Pretty storage
- Month 2 – Hand lettering
- Month 3 – Greenery
- Month 4 – Doodling
- Month 5 – Pom poms
- Month 6 – Soft toys
Here’s how you can get involved in the challenges
1. Join the official Creative Challenge Facebook Group.
Ask questions about technique, share your struggles and show off your progress on all of the challenges.
2. Follow Lovilee on Pinterest
Although I have various boards on Pinterest I have dedicated the Creative Challenge board to this challenge. Please let me know if you’d like to be a contributor on the board and I will add you to it so that you can start pinning!
3. Use the hashtag #Lovileecraft
Snap photos of your work and share on Instagram, please do tag @Lovilee_za and use the hashtag #Lovilee so that I can also follow your creative journeys! You can also share your images on the Facebook Group.
Like what you read? Follow lovilee on Facebook, Twitter, Instagram, Bloglovin or subscribe on email.
Let's get social
Instagram: @lovilee_zaTwitter: @lovilee_za
Facebook: @lovileeblog
or subscribe to never miss out on any new articles in this link.



Comments are closed.