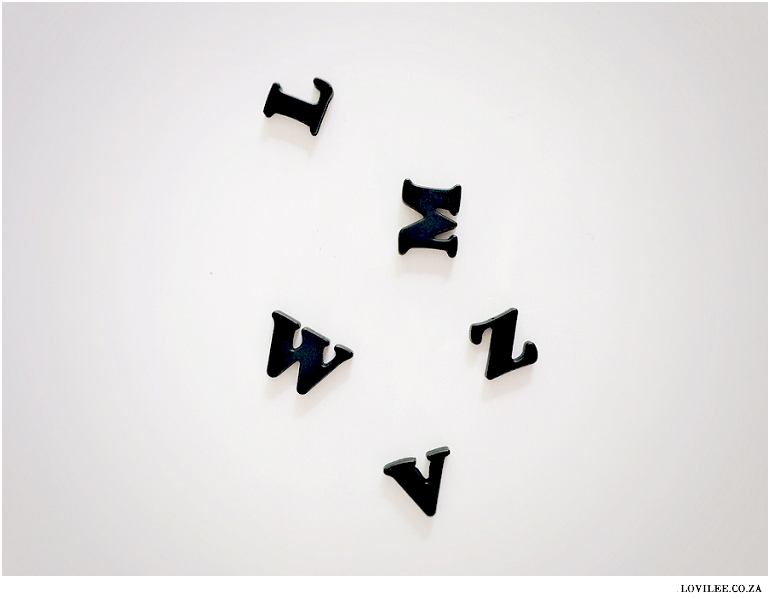
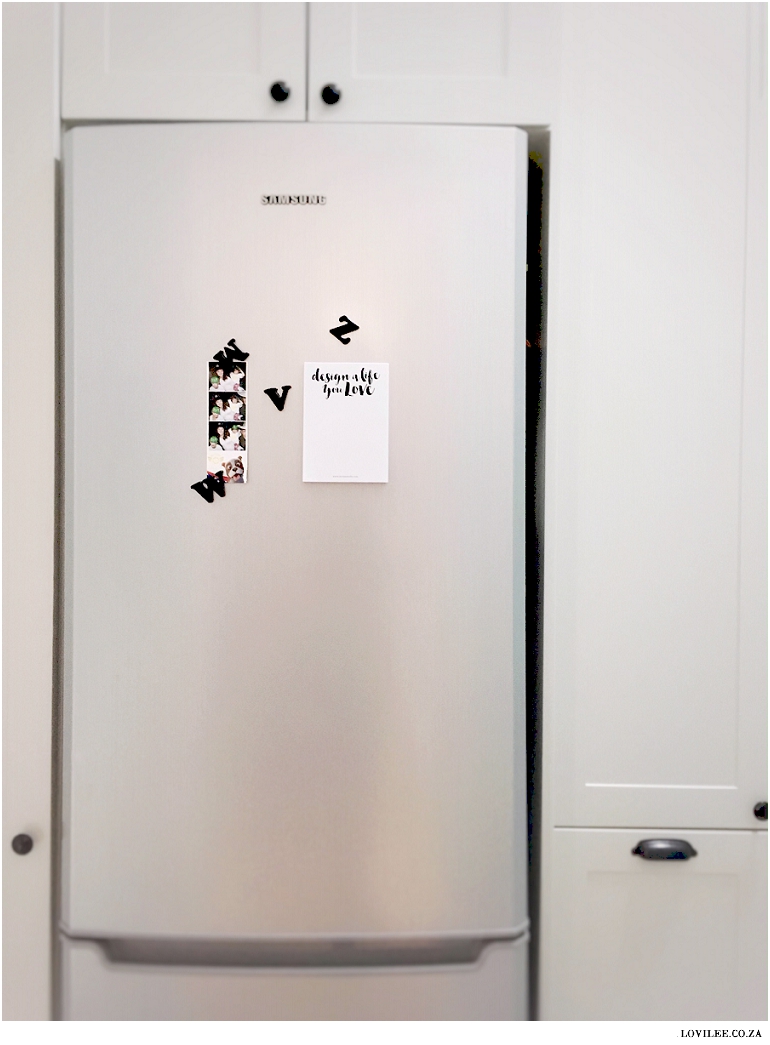
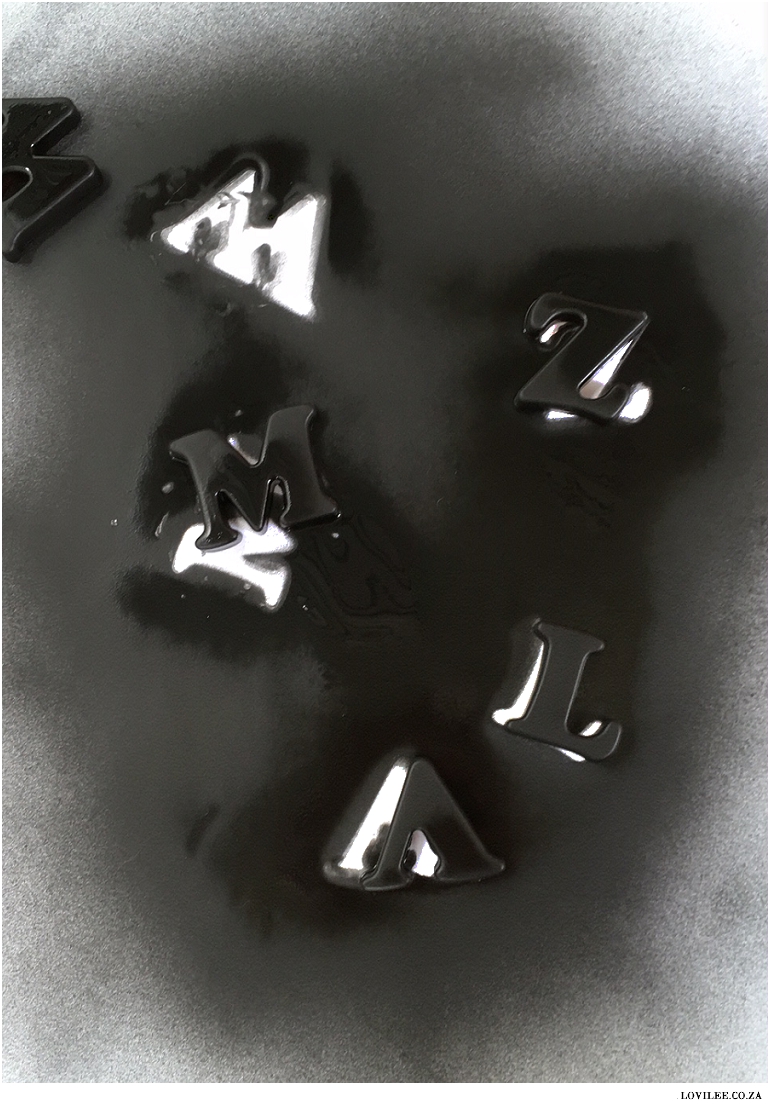
I love giving hand-made gifts for birthdays or Christmas and stumbled across some really colorful letter magnets (totally ‘oldskool’) at PEP stores recently. Even though I really liked the magnets their colors were a bit much for what I had in mind. The lovilees over at Rust-Oleum was kind enough to help me out with some spray paint and the finish product was a beautiful matt black.

I really like using Rust-Oleum spray paint and have used a few of their products before that included fixing the stove handle in our old house with their Appliance Epoxy Spray and frosting both my shower door and our patio doors with their Frosted Glass Spray (see this post). What I like most is that you can look and feel the finish of what you can expect on each of the caps of the paints that you purchase. They are also easy to identify to use on various applications and they state on the cans which products are best suited for what surface. They also state whether you need an additional primer to prepare your surface beforehand.
Rust-Oleum Peel Coat®
The product that I got sent to try out was the Rust-Oleum Peel Coat®. This Spray Paint is a non-permanent peelable rubber coating that enables endless customisation for mostly vehicles. This premium formula is easy to peel, safe to wash and can be applied to metal, plastic, chrome, glass and more. (Recommended removal within 6 months.) So if ever I decide to revert back to my previous colourful color magnets I am able to do so without much hassle.
What you will need for these DIY fridge letter magnets
- Rust-Oleum Peel Coat® or any of the other Plastic spray paint products in the color of your choice
- Letter magnets (I purchased mine from PEP Stores)
- A drop sheet or anything to protect the surface you want to spray on
- Some gloves to protect your hands (optional)
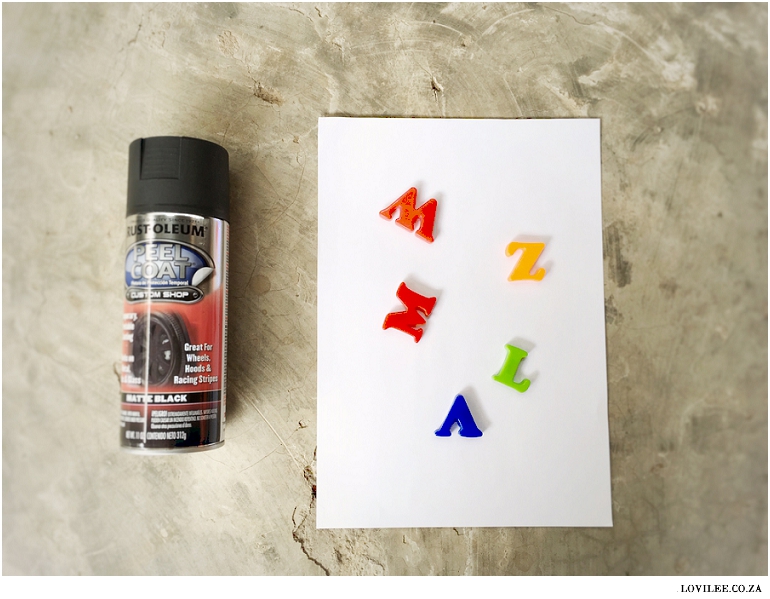
Step-by-step instructions on how to spray paint
- Clean the surface that you want to paint with water and wipe it with Mentholated spirits. Make sure that the surface you will be decorating is clean and free from oily or dust particles.
- Read the instructions on the can carefully and follow them.
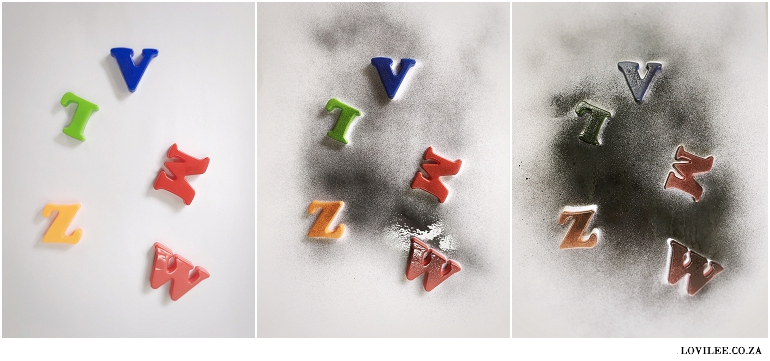
- Hold the can 20-30 cm away from the letters that you spray and NEVER spray upside down to avoid droplets on the letters.
- Repeat the coats till all of the letters are perfectly covered.
- It is important to move the letters soon after they have dried else they will stick to the protective surface that you used as the coat will peel off if you wait too long.
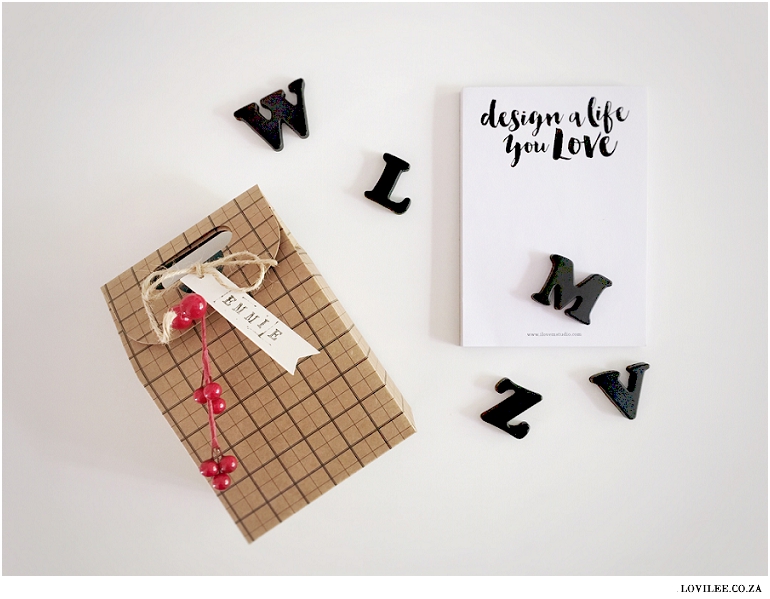
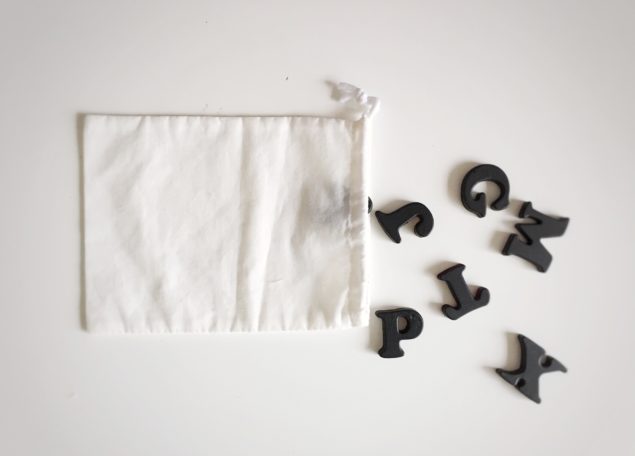
These letters make for a great gift if you add them to a beautiful pouch and will also make for a great stocking filler or teachers gift.
Let's get social
Instagram: @lovilee_zaTwitter: @lovilee_za
Facebook: @lovileeblog
or subscribe to never miss out on any new articles in this link.



Comments are closed.