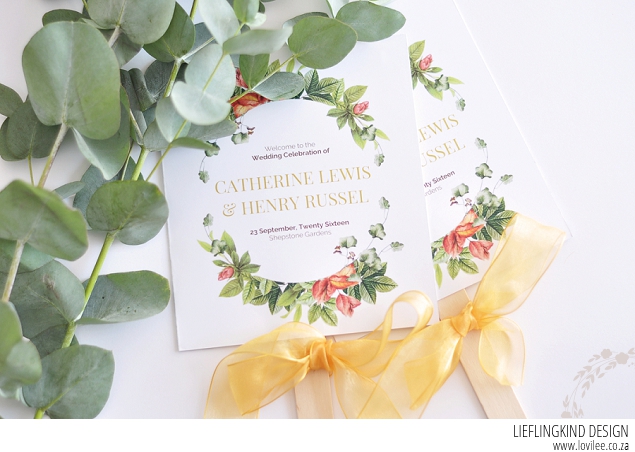
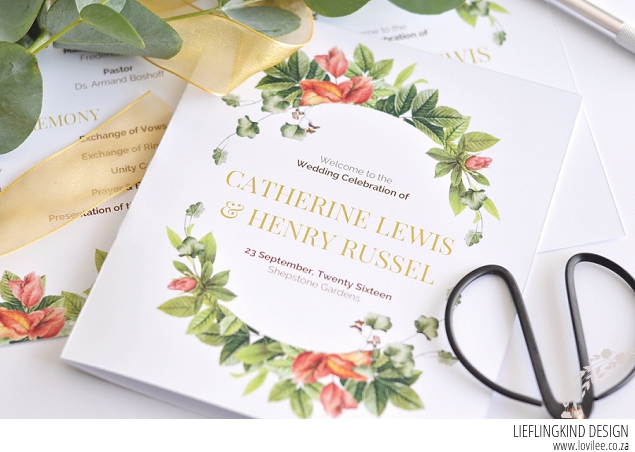
Are you planning your dream wedding? Our free wedding printable is a must-have for adding a touch of elegance to your big day! Embrace the popular leafy trend with our picture-perfect Paddle Fan DIY wedding program. These botanical-themed paddle fans are not only stunning but also practical, helping to keep your guests cool during your romantic garden ceremony. Easy to edit and customize, these paddle fans can be tailored to match your wedding colors and style. Follow our simple steps to create these beautiful and functional fans at home. Enjoy crafting a special touch for your unforgettable day!
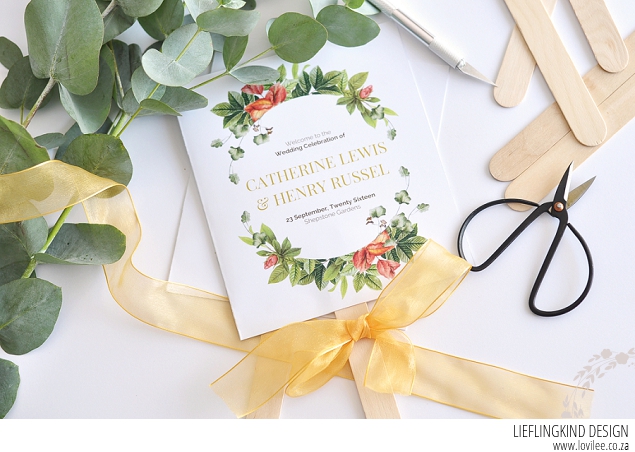
You will need:
- Free Paddle Fan Wedding Program printable
- Double Sided Tape
- Wood Fan Handles
- Ruler
- Art Knife
- Paper Trimmer or scissors
- Ribbon or spray paint (optional)
Step 1: Download and Customise the Template
Download the program template and open it in Microsoft Word. The recommended fonts are Raleway and Playfair Display free fonts in this design (you can download them by following the links below), but you can also choose to use your own. Add ceremony details, bridal party names, and personal details on the cover. You are welcome to change the formatting and fonts, but remember to stay within the trim lines. Once you’ve edited the menu, you can save it as a PDF and take to your local print shop, or print directly to your home printer using A4 card stock (thicker than regular paper). You can also use paper with a slight texture, but keep in mind that the paper should be able to fold easily.
Download the following free fonts for this DIY project:
Step 2: Scoring and Folding
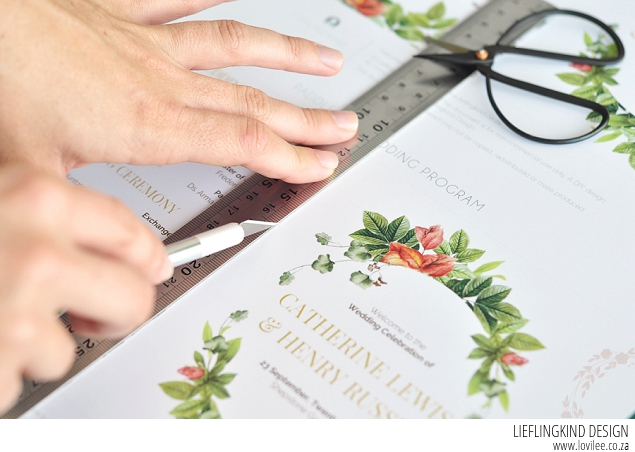
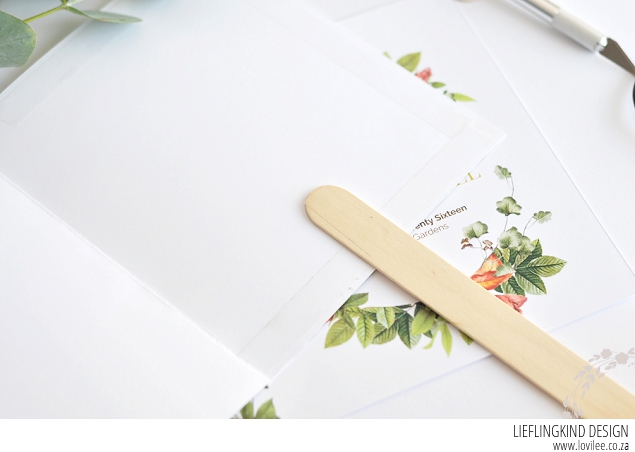
Line up your ruler with the dotted lines in the center. Score down the middle with the non-blade side of an art knife. This will help you fold a straight line. Fold the program in half to make a booklet.
Step 3: Trimming and Optional Decoration
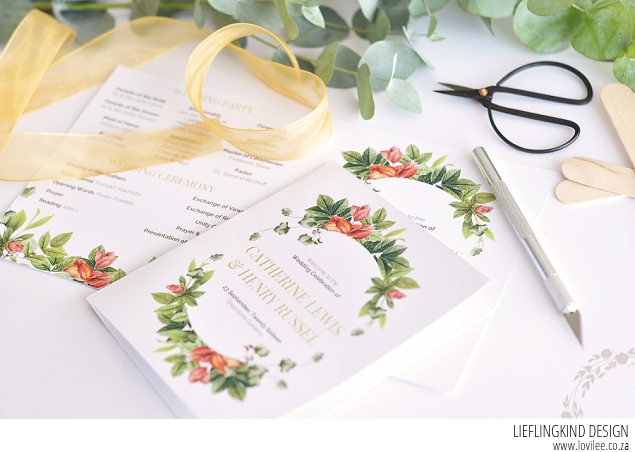
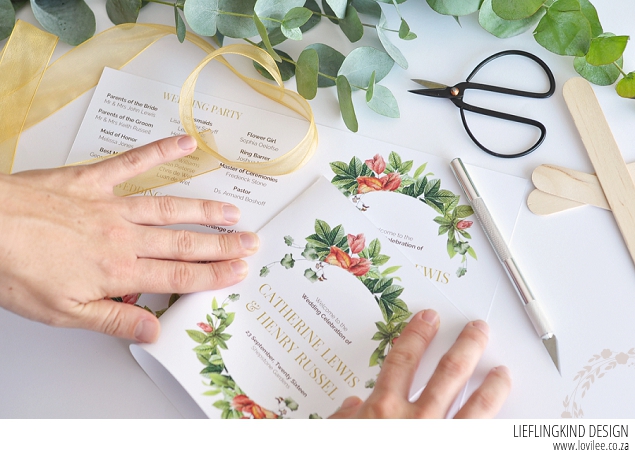
Using an art knife or scissors, Carefully cut the three outer edges, avoiding the fold line. Optionally, spray paint the handles in gold or a coordinating color. If you would like to spray paint your handles, now is the time to do it. We think gold or an accent colour would go perfect with this design.
Step 4: Assembling the Fan
Attach double sided tape to both sides of the top of the fan handle, and to one side of the program. Tape works better than glue as it won’t leave a soggy mark on your paper. Attach the fan handle to middle of the bottom edge of the program. Fold the program over the fan handle and press to make sure that it sticks properly.
Step 5: Adding Final Touches
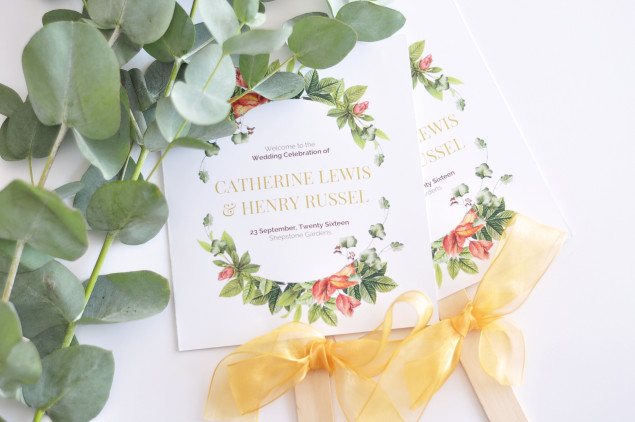
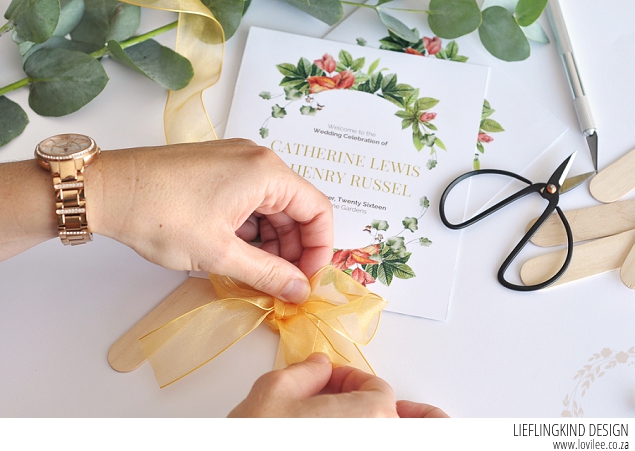
Dress up the fan handle with ribbon to match your ceremony. If in doubt, stick with gold or white.
Pro-Tip: Make it a Group Activity
Invite friends to help with the project. Enjoy dinner, a glass of wine, and make it a fun, memorable evening!
Images and printable by Lieflingkind Design, exclusive to lovilee.co.za.
Let's get social
Instagram: @lovilee_zaTwitter: @lovilee_za
Facebook: @lovileeblog
or subscribe to never miss out on any new articles in this link.



3 Comments
This looks beautiful! Could you tell me where to find the downloadable file please? I cant’ seem to spot it!
Apologies, here it is https://drive.google.com/open?id=0BxUqRs61tFt3ZkFZQlBxYmE4b3c5OHJtT1NrR2RJZ1pnblFr
Great, thanks so much! =)