I am excited to get to share a some step-by-step instructions on how to re-cover an old pin board to a totally swoon-worthy and functional new decor item. A pin board is a great way to create some whimsical fun in your office or bedroom. It is the best place to keep your theater tickets, children’s drawings, special photographs or a list of details you need on hand.
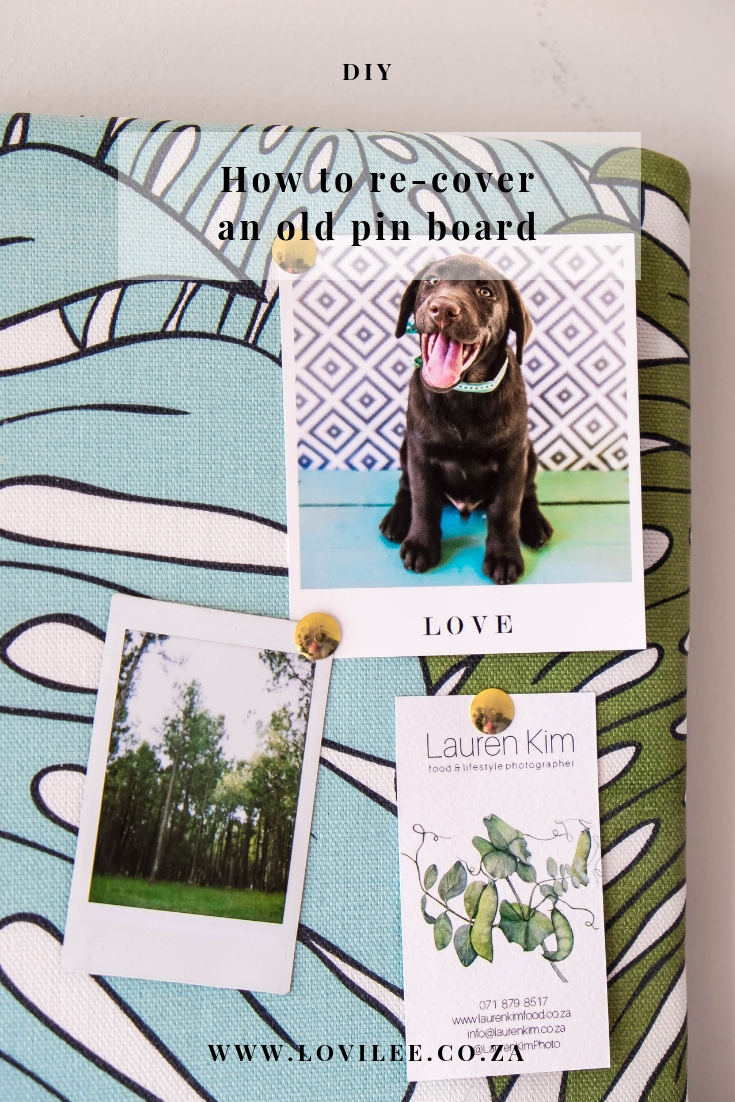
These boards need not be boring and hidden away. All you need to jazz up your space is the following…
- A pin board (old or new)
- A staple gun
- Fabric of your choice/li>
- Some ribbon
- An iron
Step-by-step instructions
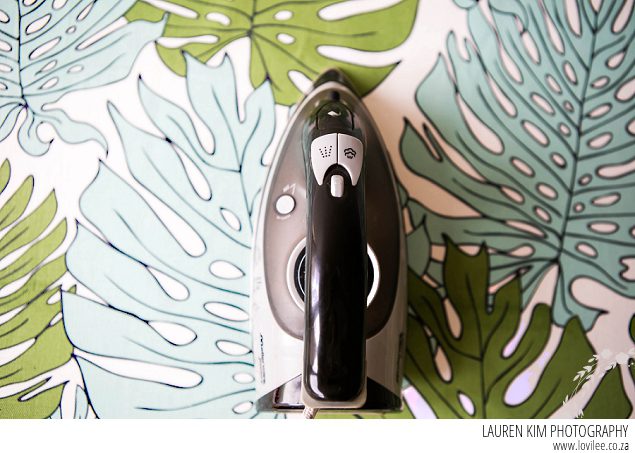
- Iron your fabric to ensure all the creases vanish (you would not like to see creases and wrinkles on your finished board)
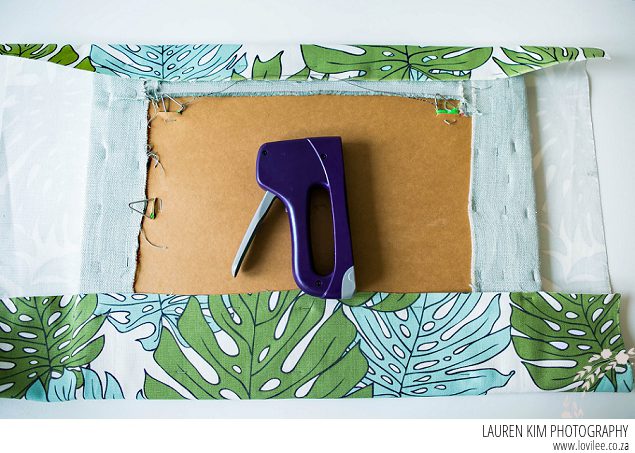
- Place your fabric on a flat surface with the print face down
- Place the board face down on top of the fabric
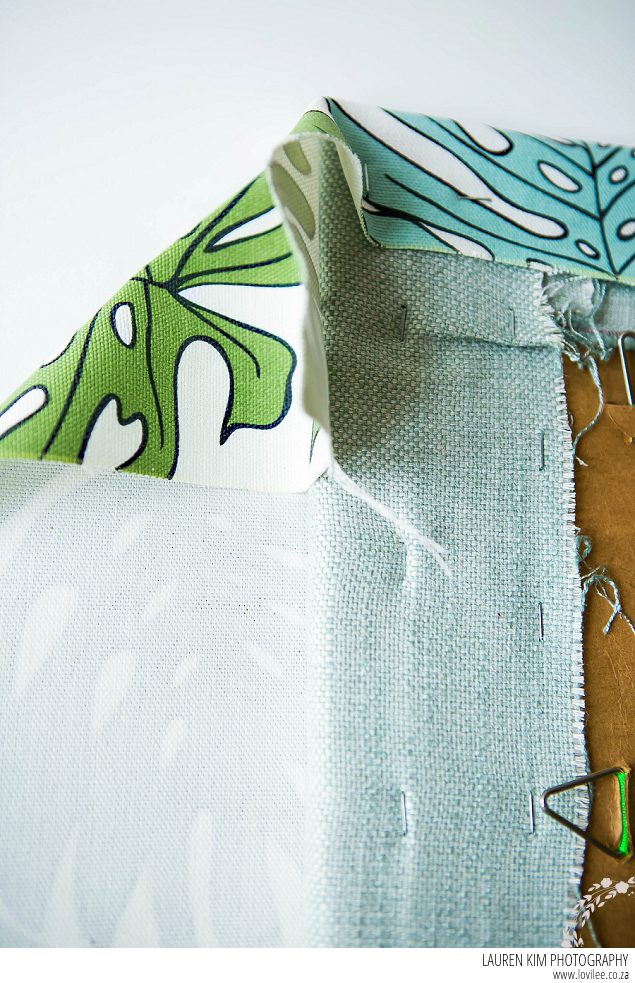
- Turn the fabric up over the board at the bottom and staple the fabric into the pin board at a few places along the bottom.
- Pull the fabric at the top of the board very tight. While holding the tension, staple the fabric into the oard. Make sure you pull the fabric tight every time you put a staple into the board.
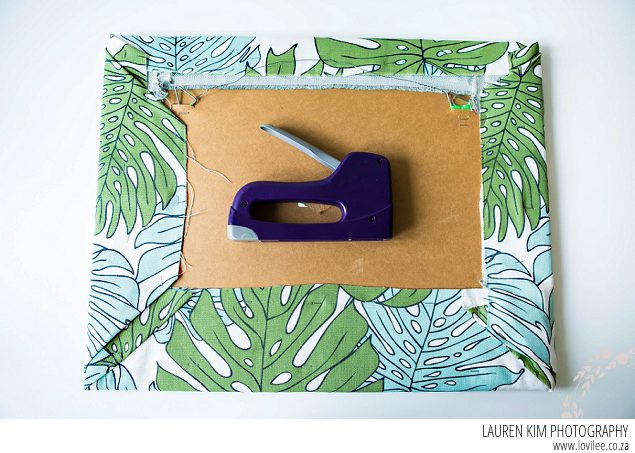
- Repeat steps 4-5 for the side panels of the pin board.
- When dealing with the corners of the board, make a triangle like you would do if you were wrapping a present and staple while pulling it tight to the back of the pin board.
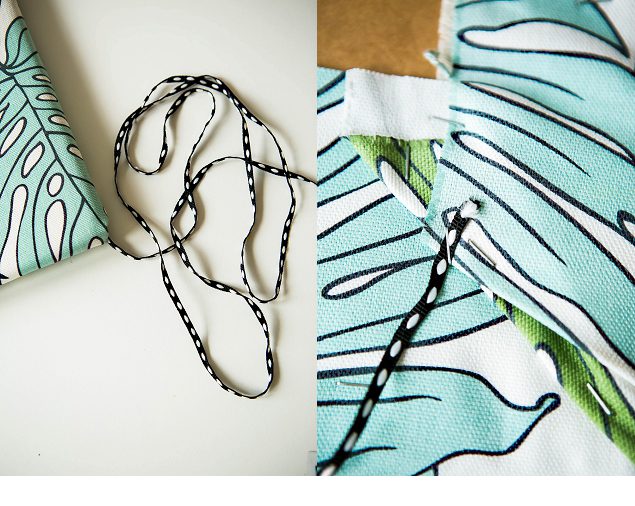
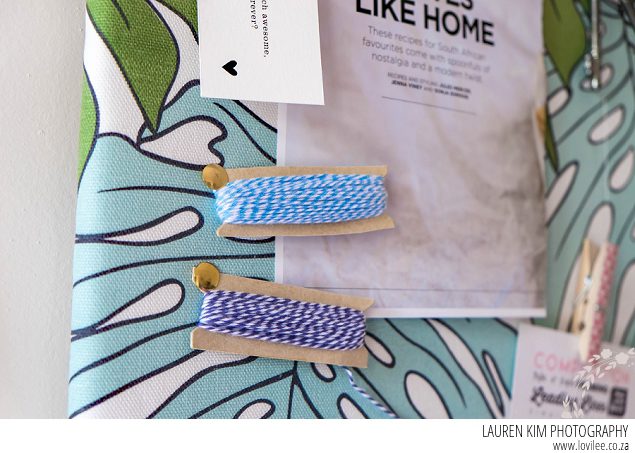
- To finish the board off wrap some ribbon around the corners to allow yourself a little spot to put cards or small pieces of paper. Simple staple the ribbon on the back and pull around and staple on the sides of the board to secure it.
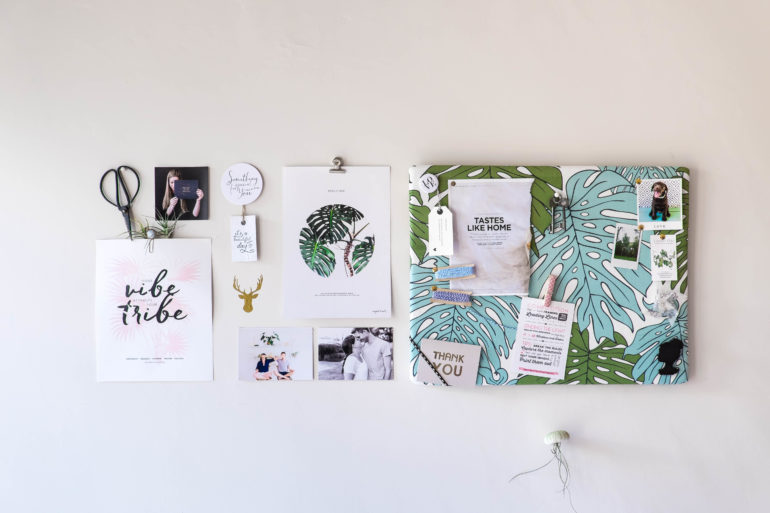
- Secure your favourite goodies and memories to your new board and hang it up where everyone can see it.
Getting organised your thing?! Then why not take a look at our step by step peg board instructions in this link?
Images: Lauren Kim Photography
Let's get social
Instagram: @lovilee_zaTwitter: @lovilee_za
Facebook: @lovileeblog
or subscribe to never miss out on any new articles in this link.



Comments are closed.