My gran was a master typist, she literally could type with such speed like it seemed that the typewriter buttons would come off and I envied her precision. As kids, we were never allowed to play on her typewriter and it was always stored away in a neat light blue case out of our reach when not in use. I grew up with a desktop computer in the home and later got my own laptops so never really typed again.
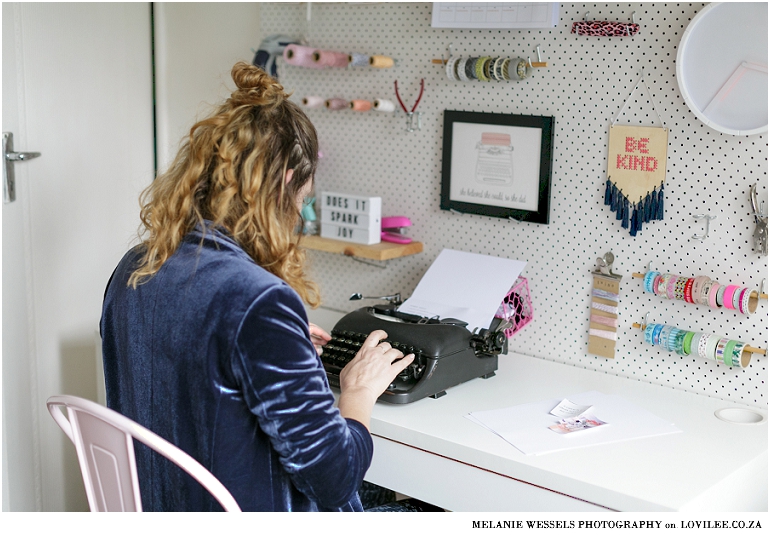
Last year I stumbled across some new but ‘oldskool’ typewriters that were launched in pastel colors in a scrapbook shop, they were sooooo pretty. When my father-in-law heard me talking about these he offered that I could borrow his vintage Remington. I was over the moon and had been looking for an opportunity to make use of this beauty.
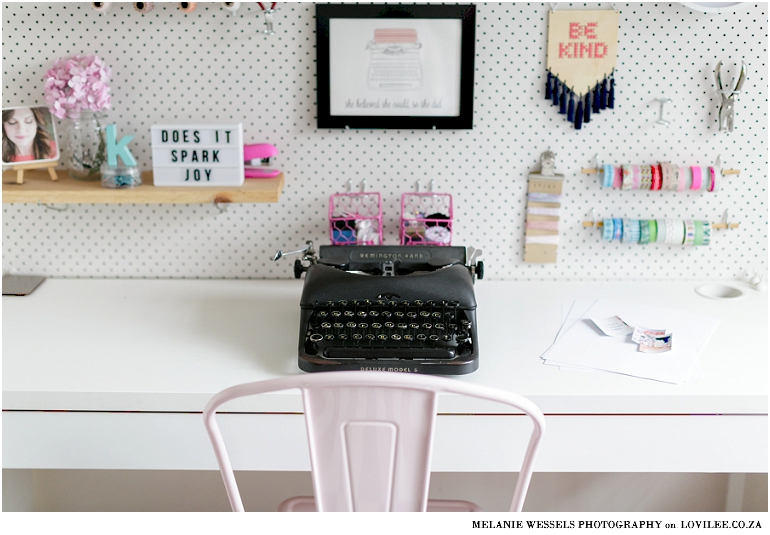
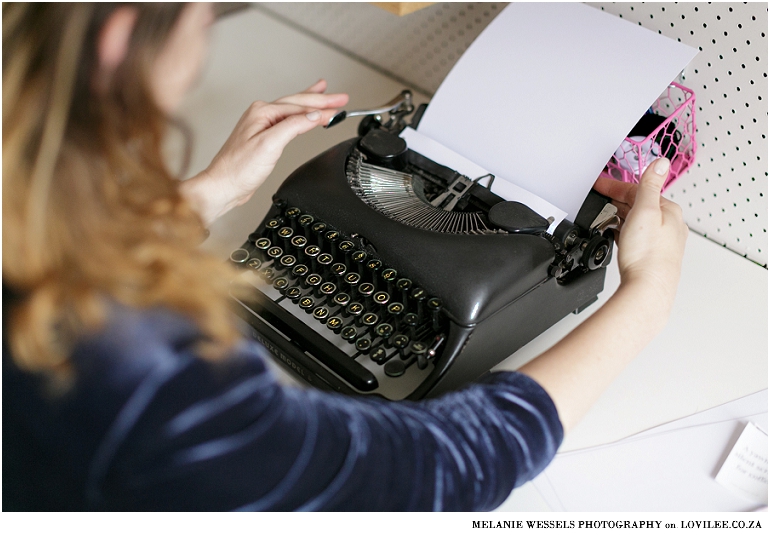
My son was totally confused about this ‘new’ device that seemed to look like a computer but did not have an electric cable connecting it to power. It was totally funny, but what was even more funny was that I underestimated the exercise that goes into typing on a typewriter – the keys take effort to move, unlike that of my laptop and you cannot rest your arms on the table whilst typing. I felt like I did some weird arm exercises the next day. And concentrating on not making mistakes (as the typewriter obviously has no spellcheck or backspace) made my head hurt. But I am so proud and chuffed with my skills! The typewriter even has a TAB functionality!
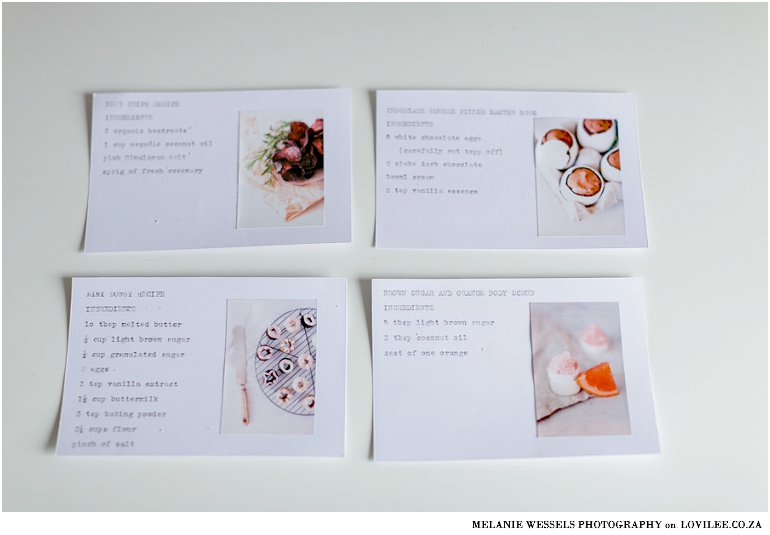
Next step was to print some of the images of recipes that I wanted to create cards for. I used some of the easy recipes posted on my blog. The Zoemini (which I reviewed here before) was great as the photos are small and already on sticker paper.
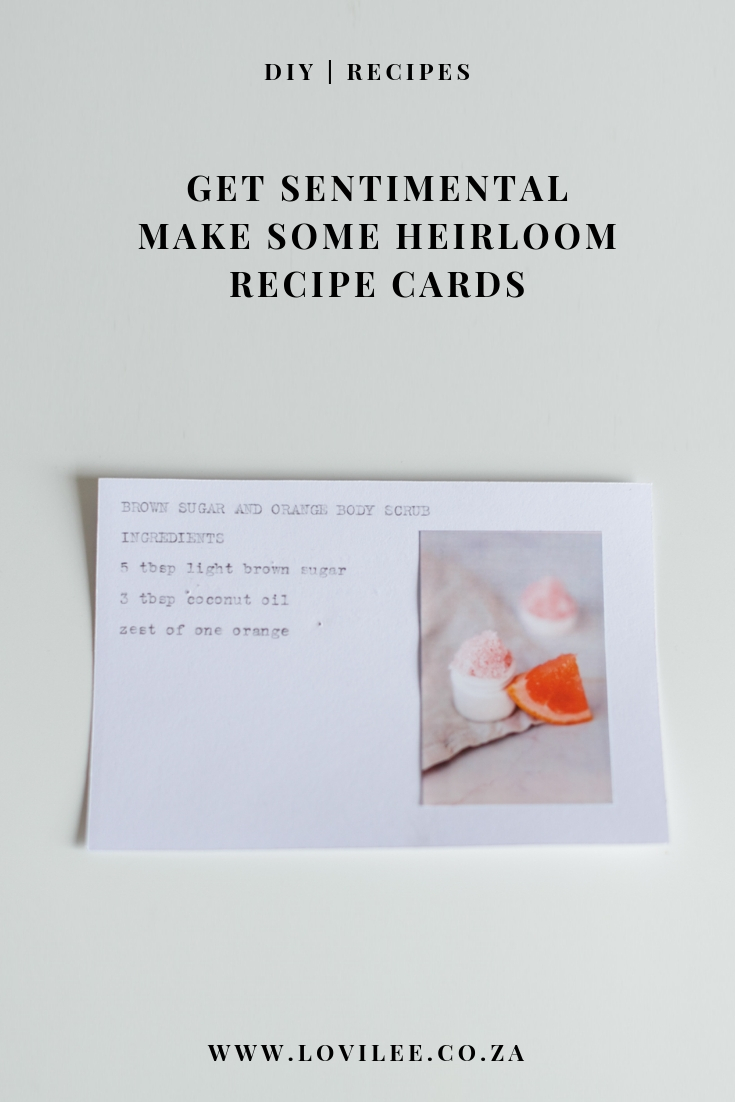
What you will need to make your own recipe cards
- Cardstock
- A Typewriter / pen will do
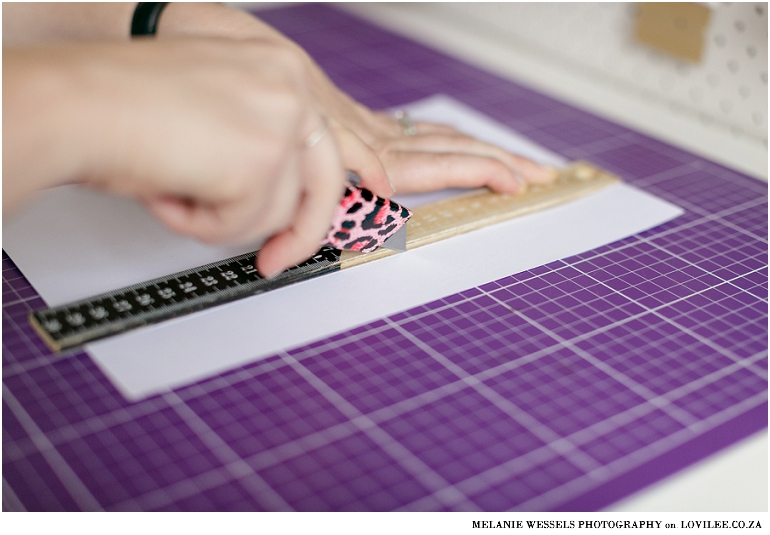
- Craft knife and a steel ruler with a cutting board / pair of scissors, ruler and a pencil
- Image(s) of ready printed small photos of the recipes
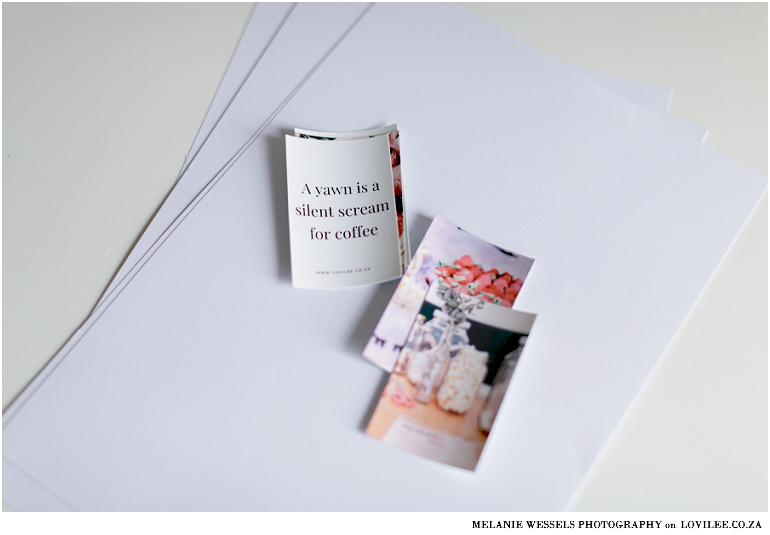
How to make these heirloom DIY recipe cards
- Measure the recipe cards out in size and make marks where you want them cut to size. You can cut them before if you write them by hand but for type you need to mark them back and front.
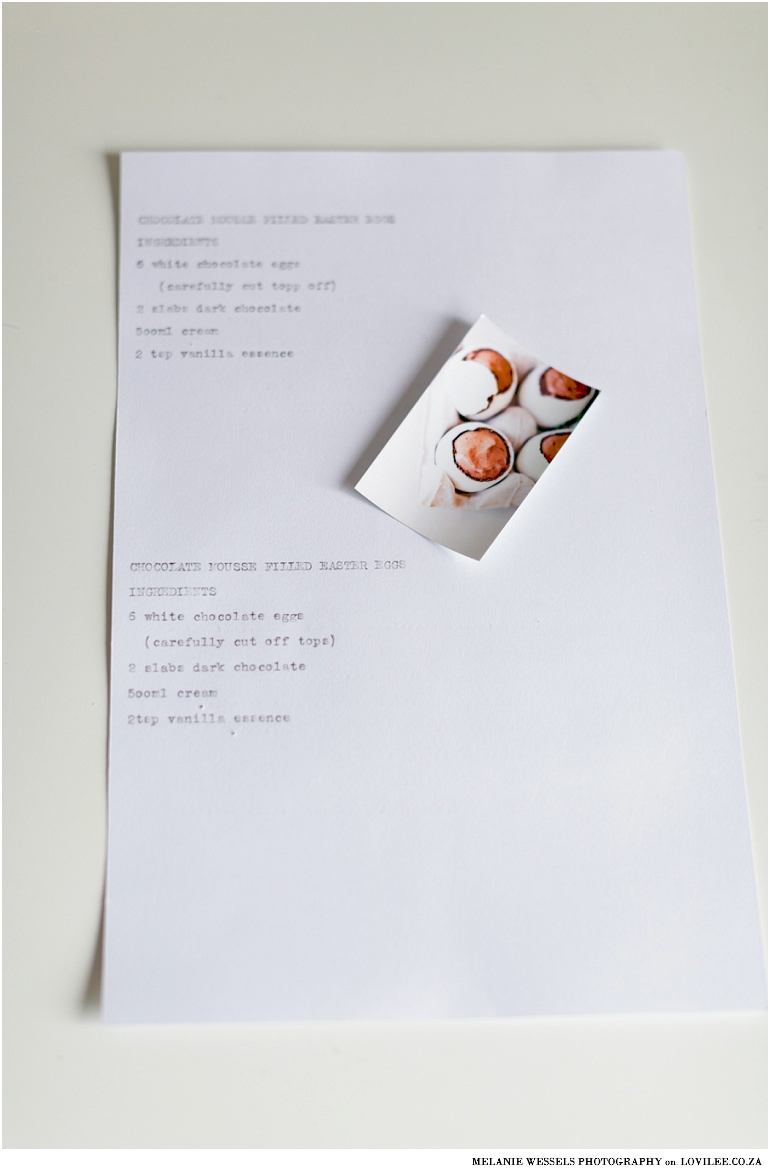
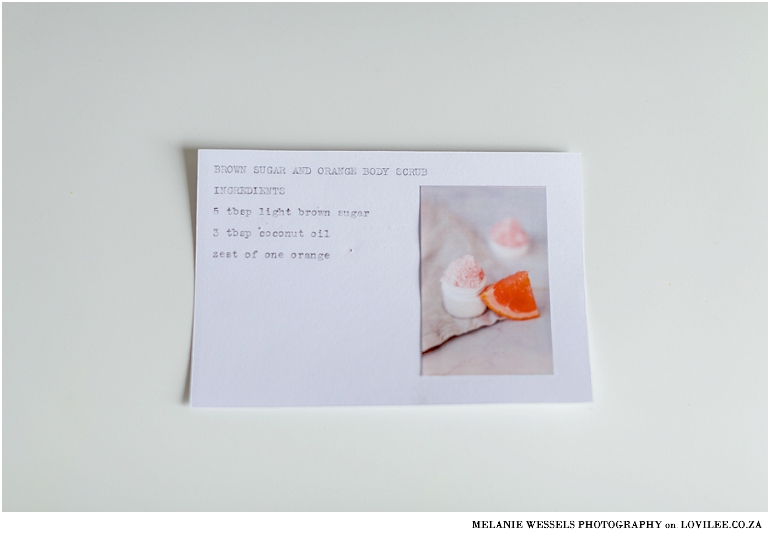
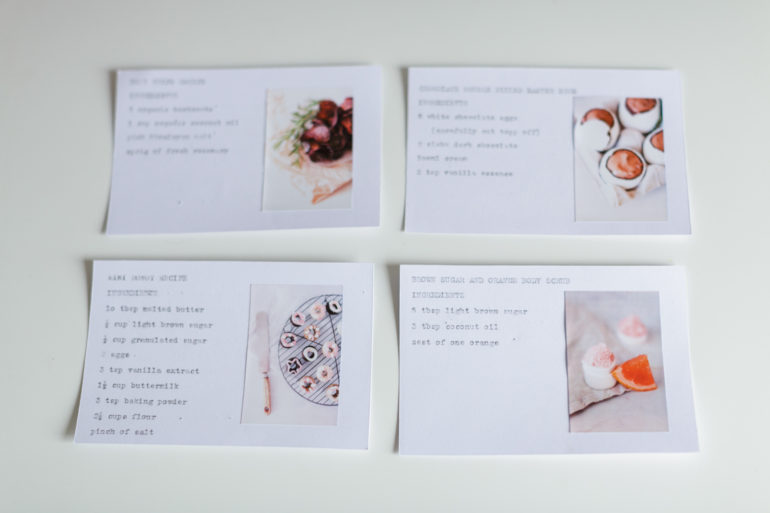
- Type or write out your recipes by hand making sure that you keep a space for the image that you want to paste. I added the recipe title, image and the ingredients to the front of the cards and the instructions to the back.
- Cut the recipe cards to size.
- Stick your image(s) on the cards.

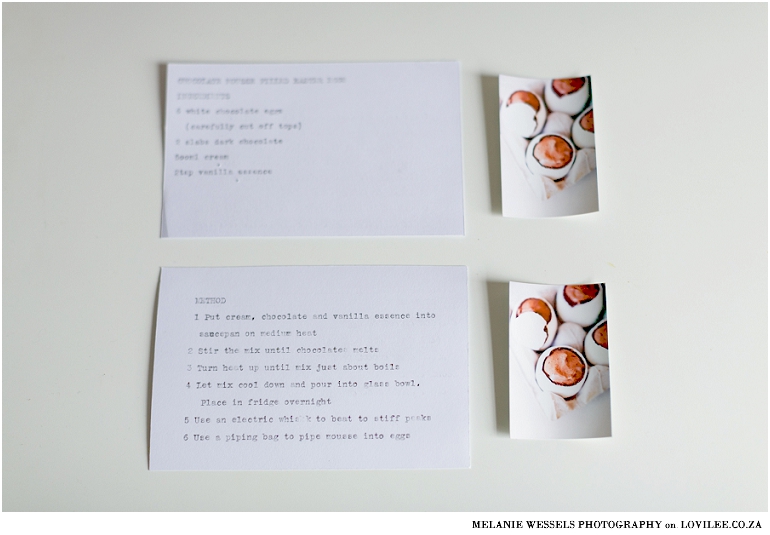


These recipe cards are now ready to hand down to your kids and them in turn to their kids. They can also be used to gift to someone special or for kitchen teas etc.
If you are looking at printing ready made recipe cards here are some free recipe card printables that I have shared on the blog before:
- Botanical printable recipe cards
- Simple recipe cards in Black and white / Kraft
- Scandinavian Inspired recipe card printables
- Recipe cards as part of a free bridal party stationery set
Thank you to Melanie Wessels Photography for taking these lovilee images of the DIY recipe cards and the lovilee vintage typewriter for me!
Let's get social
Instagram: @lovilee_zaTwitter: @lovilee_za
Facebook: @lovileeblog
or subscribe to never miss out on any new articles in this link.



2 Comments
O what a fun idea! Beautiful photography!
Aaa, thank you! Had so much fun with this post!