This post was paid for by T & Co Fabrics – a world class fabric wholesaler and distributor of international fabric editeurs based in Kramerville, South Africa.
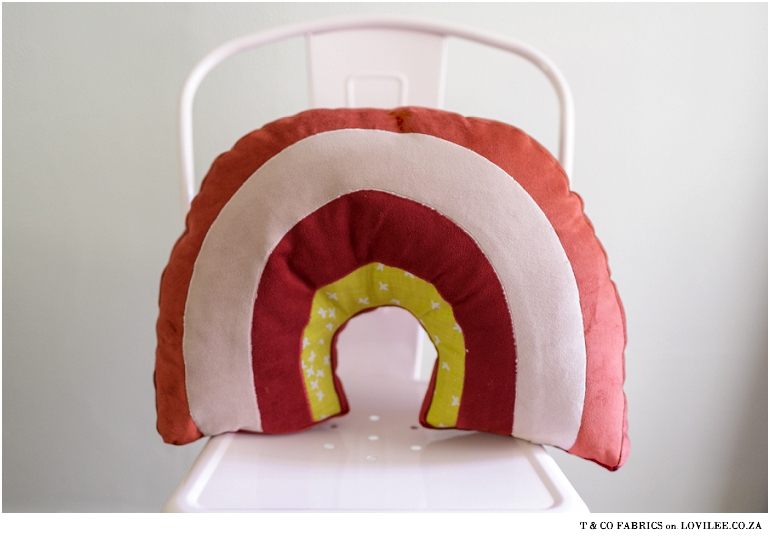
I am all about happiness and rainbows at the moment, so after sharing the set of rainbow cushions I made on the blog before, there was still some fabric left. I thought it may be good to try and make a 3D rainbow cushion for the princess. ‘Where there are rainbows there is hope!’
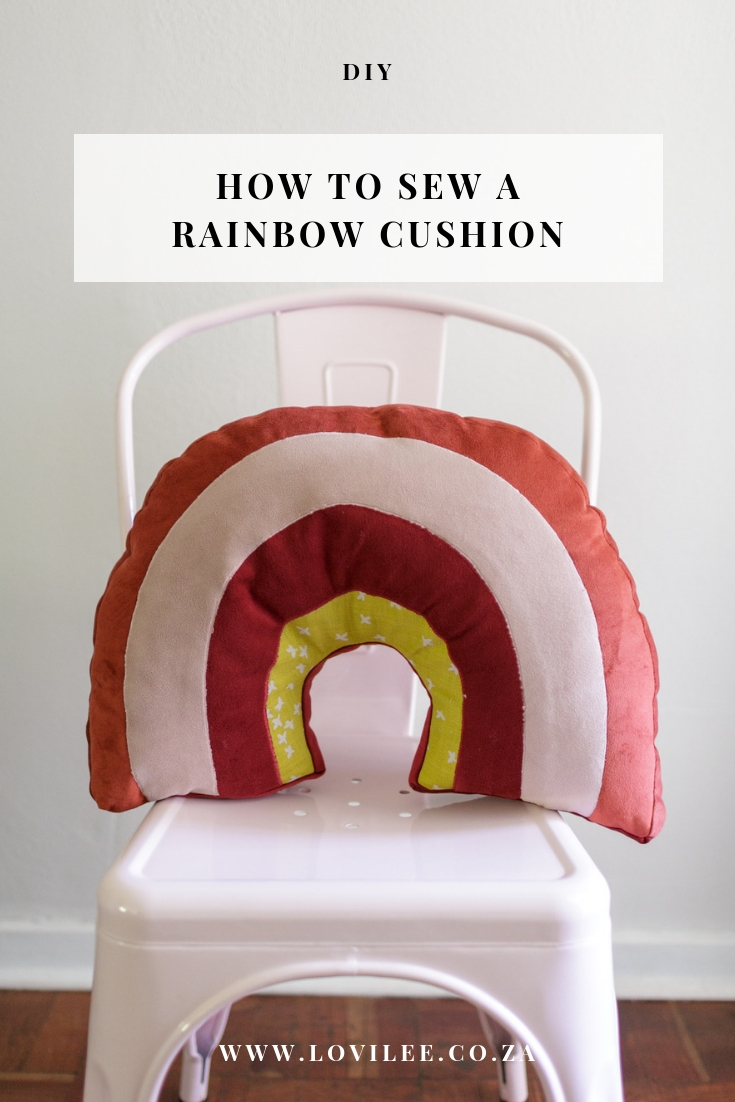
What you will need to make a rainbow cushion?
- Fabrics in the colors of your choice (I used 4 colors from the T & Co Fabrics collection. Ruby (Dark red), Rose Pink and burnt Marmalade (orange) all from the Rebecca collection and then for the yellow the Chai color cotton fabric.)
- Yarn in the same colors as the fabrics above
- Applique Paper
- A clothes iron and ironing board
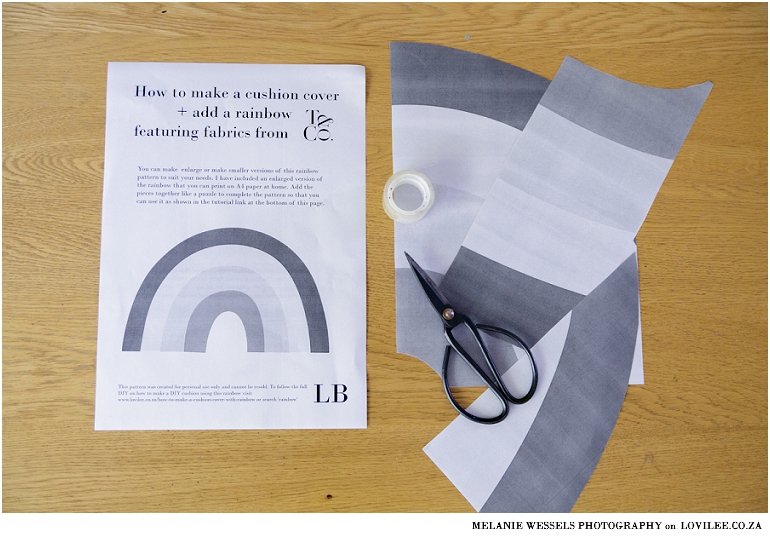
- Rainbow pattern (download here)
- A pair of sharp, material scissors
- An electric sewing machine
- Washi or Cellotape
- A large bag of stuffing for the inner of the pillow
- A needle to sew the last opening of the pillow together
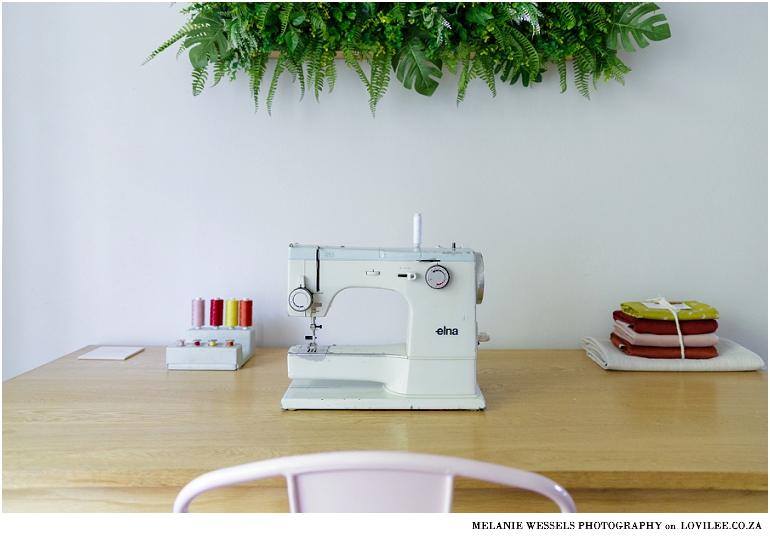
You can follow the step-by-step Rainbow making tutorial with photos below
- Download and print out the rainbow template that I designed for this DIY. I did a strip of 7cm wide to allow a 1cm seam on either side for the outer edge of the pillow in 2 strips, the outer rainbow is 7cm x 100cm and then the bottom and inner rainbow is 7cm x 75cm.
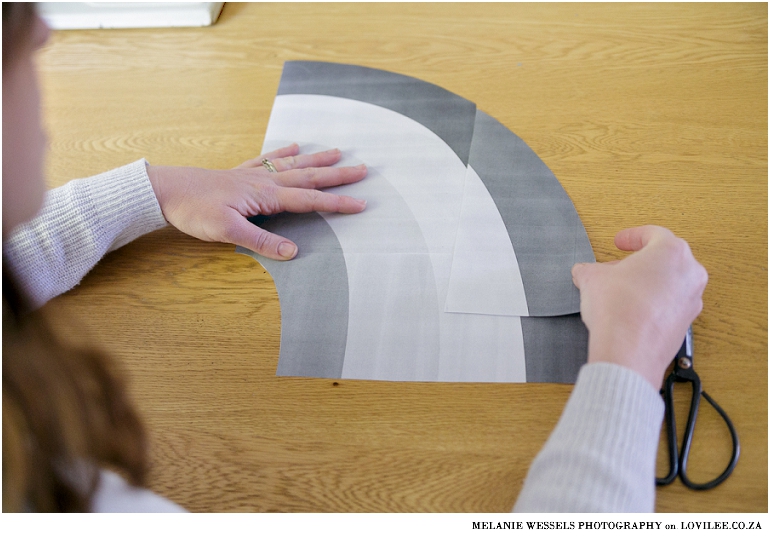
- Stick the rainbow pieces together with washi tape or cello tape and cut around the outer edges of the rainbow. (this will form half a rainbow)
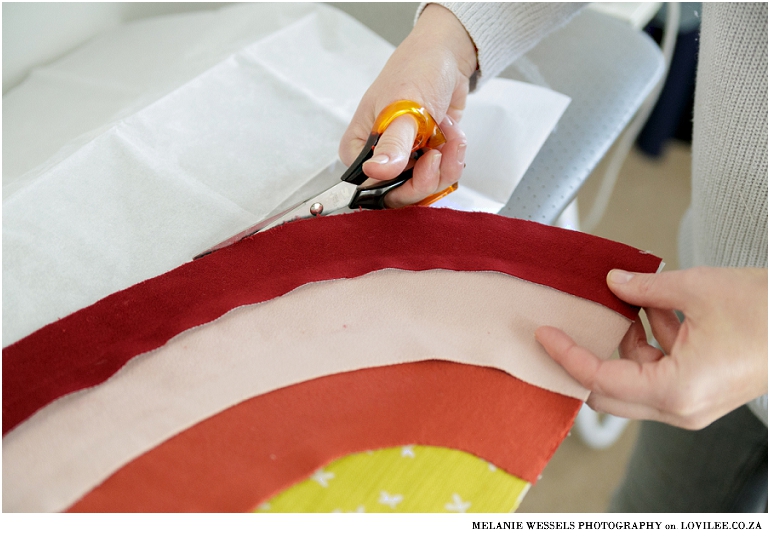
- Fold each of the colour materials in half so that the fold is in the middle of the rainbow sections. Cut out the rainbow pieces in the colour materials of your choice, they will now form a full rainbow when you open up the pieces. You will have to add a small seam allowance to the top of the colours – For the first three colours of the rainbow.
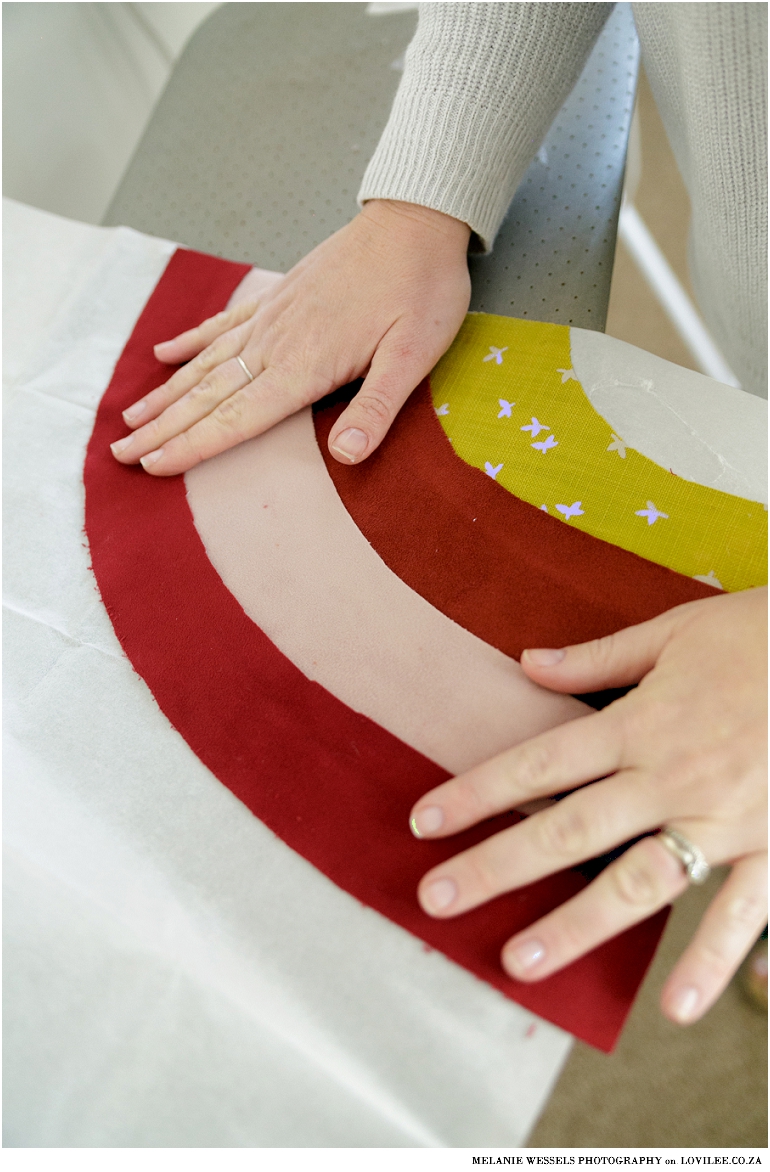
- Place the wrong side of the fabric, starting with the yellow first on the coarse side of the applique paper. Iron it to the applique paper using a hot iron with no steam. (I prefer to iron the back of the paper to the fabric as the suede fabric can easily melt. Complete these steps for the remaining colours, slightly overlapping each of the colours over the previous one’s seam allowance that you added.
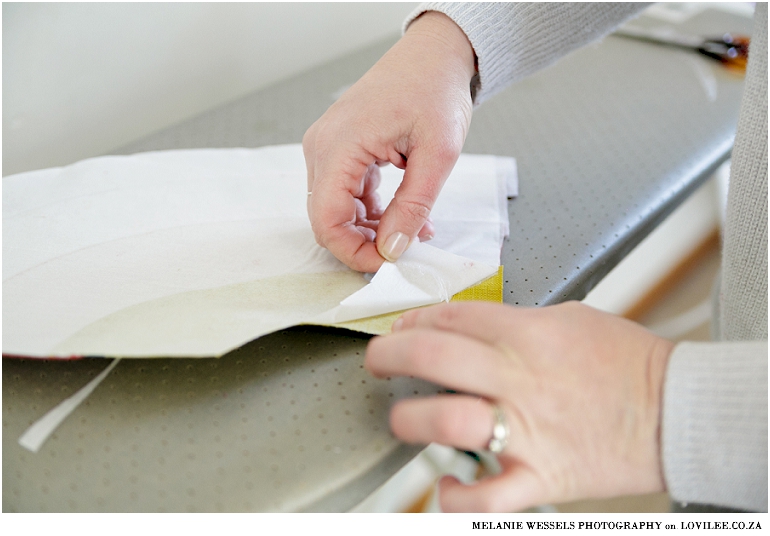
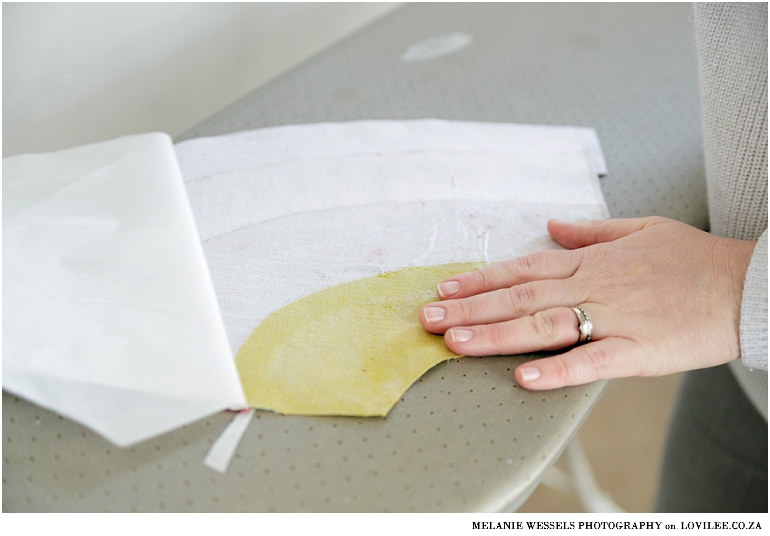
- Once you have all the colors in place cut out the remainder of the applique paper that you don’t need and pull away the paper, so that only the glue remains on the back of your rainbow pattern.
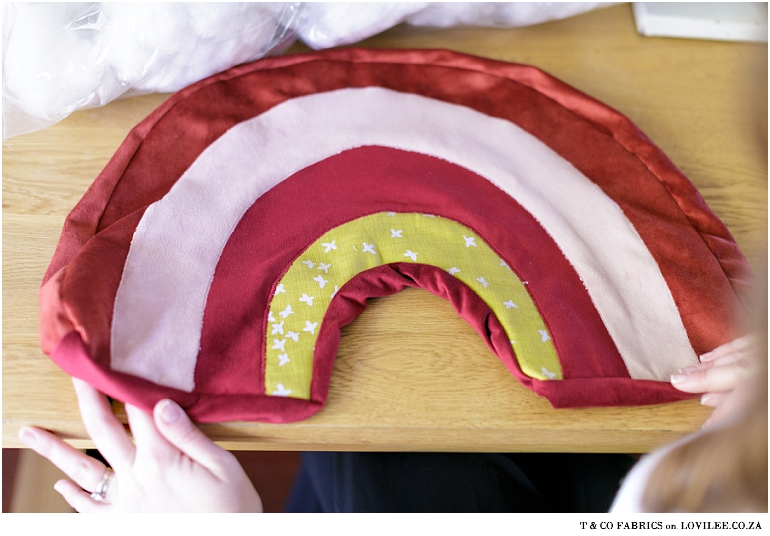
- With the same color thread as each of the stripes in the rainbow, using a fine zig-zag stitch, stitch around the lines to fasten them to your background fabric. It is important to make sure that you don’t stretch the material as it will cause folds. I ironed the cushion after each line to ensure that this did not happen.
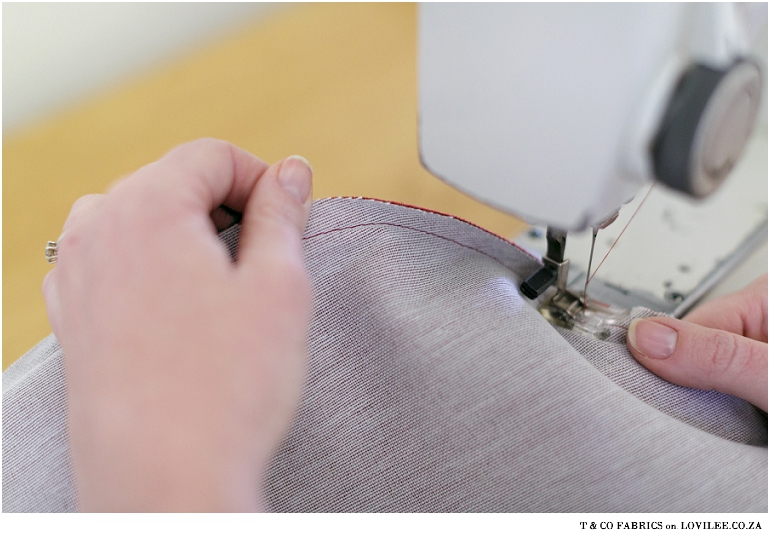
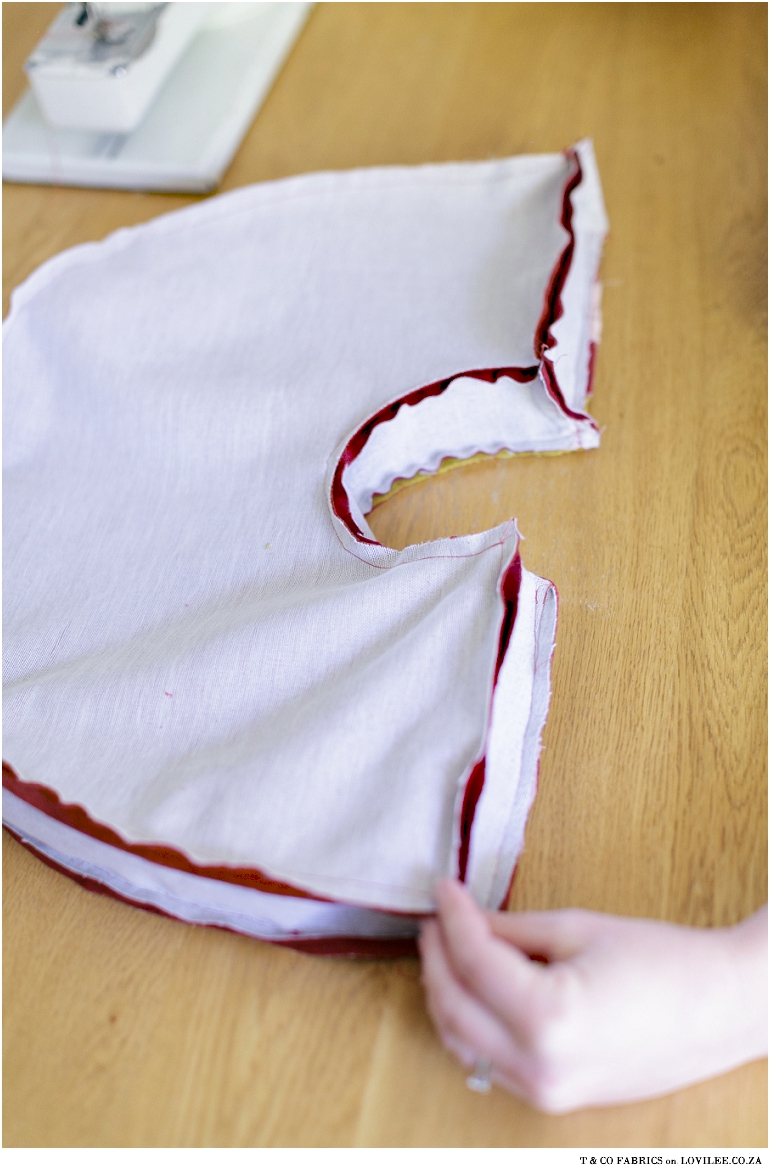
- Sew the straight strip of material to the one side of the rainbow starting at the rounded edge. Work your way all around until you end where you started. Do the same for the back rainbow leaving an opening of around 8cm for you to add the stuffing in.
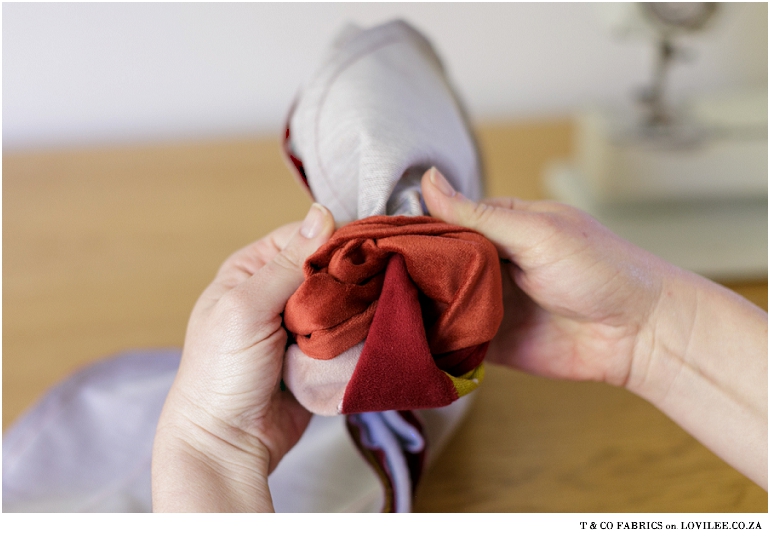
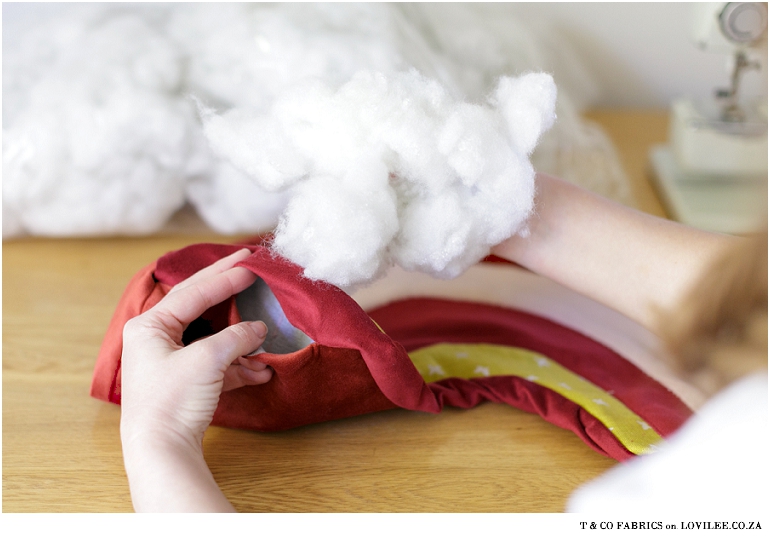
- Turn the cushion cover inside out and fill it with stuffing.
- Using a needle and thread, hand-sew the opening that you used to place the stuffing into the cushion closed.

Find out more about T & Co Fabrics, follow them for exclusive offers or get in contact
Website: www.tandco.co.za
Facebook: @T-Co-Fabrics-tandco
Twitter: @TandCo_Fabrics
Instagram: @tandco_fabrics
Pinterest: @tcofabrics
JHB Showroom: 14 Kramer Road, Kramerville, Sandton, Johannesburg
Thank you to Melanie Wessels Photography for the stunning images!
Let's get social
Instagram: @lovilee_zaTwitter: @lovilee_za
Facebook: @lovileeblog
or subscribe to never miss out on any new articles in this link.



2 Comments
Can you provide the dimensions to cut the strip that is in between the back and the front of the pillow? Thanks.
Hello Tiffani, I did my strip 7cm wide to allow a 1cm seam on either side. Then did them in 2 strips, the outer rainbow is 7cm x 100cm and then the bottom and inner rainbow is 7cm x 75cm.