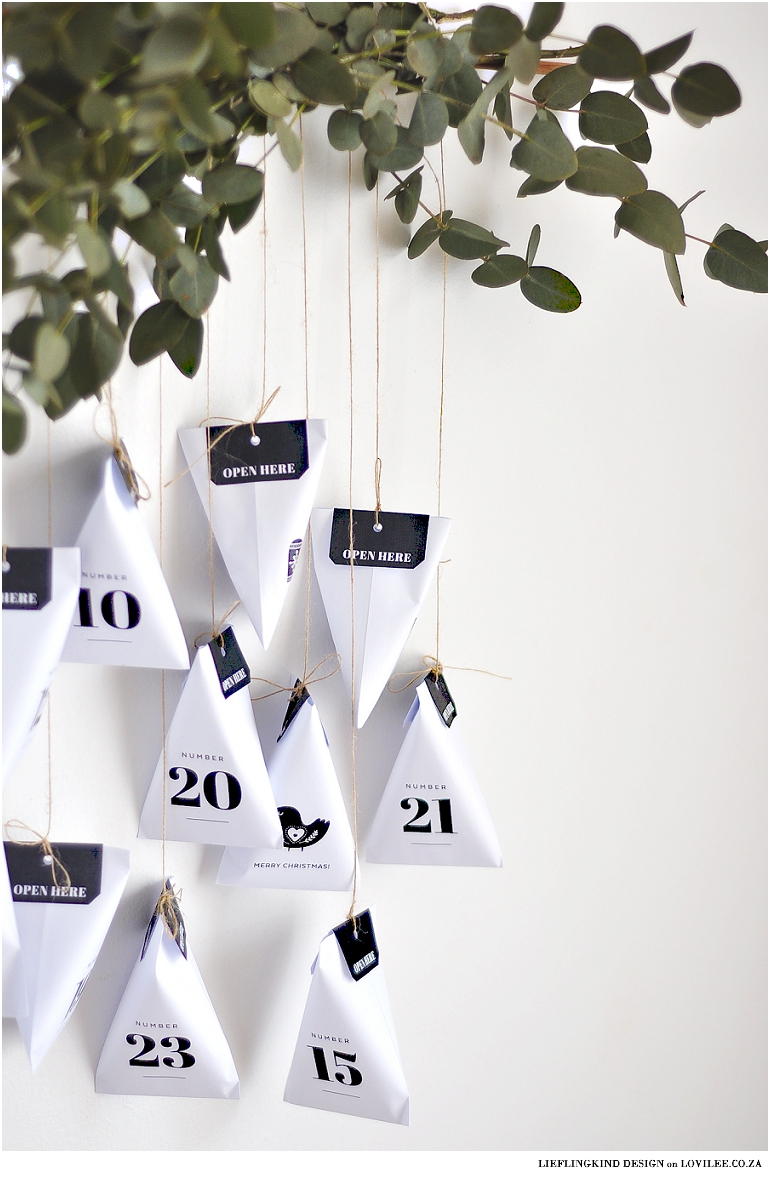
Anyone else start feeling like a kid around Christmas? I certainly do! To me it’s definitely the most wonderful time of the year & I always start preparations and decorating early. In keeping with my Christmas joy & this months’ Lovilee theme of minimalism, I created a Scandinavian style printable advent calendar which you can download, print and make yourself. It’s Lieflingkind‘s biggest DIY project yet!
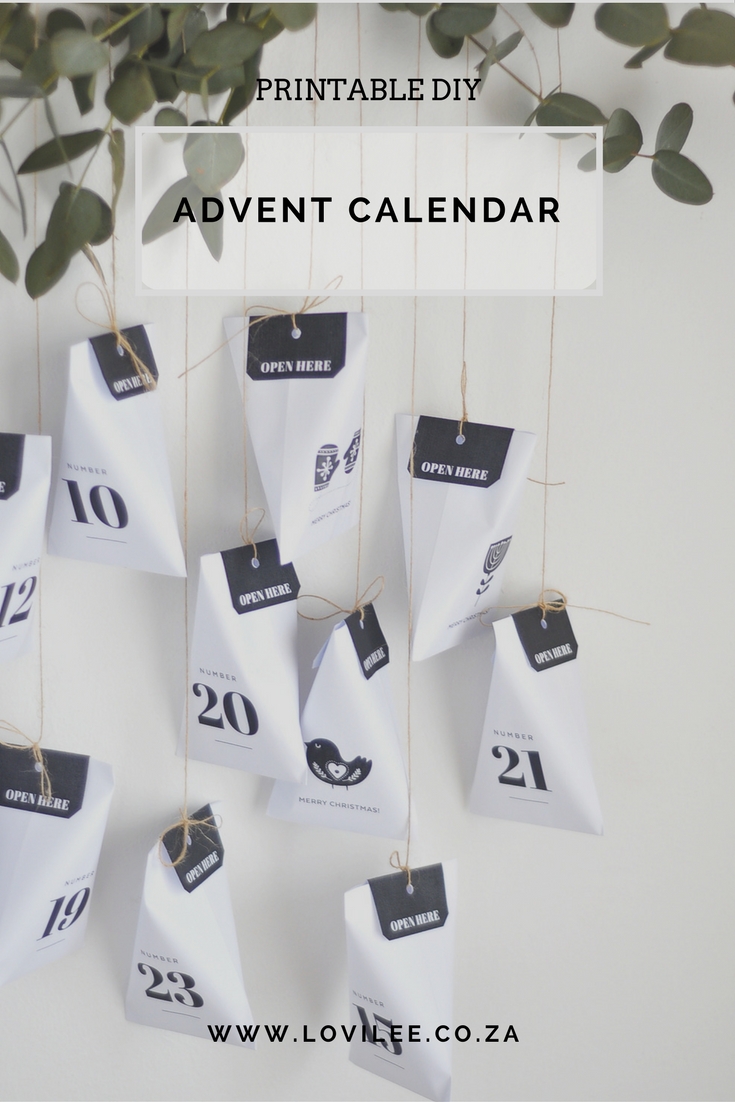
An advent calendar are a great way to build the excitement in the run-up to Christmas and the pockets we created for this specific printable can hold quite a variety of little gifts. Spoil your kids with socks, small toys, sweets or activity ideas such as surprise picnics. If you don’t have kids, do one up for your husband (or wife) and fill it with small gifts that they’d love – it’s the perfect way to get into the festive spirit.
Download the printable advent calendar files here
What you will need for the Advent Calendar DIY
- Steel ruler
- Cutting knife
- Cutting board
- About 20m of bakers twine
- 1m wooden stick, about 6mm wide
- Glue stick or two-way tape
- Hole punch
- Gold spray paint (if you prefer)
- Pennygum for decorations (Available from your local florist)
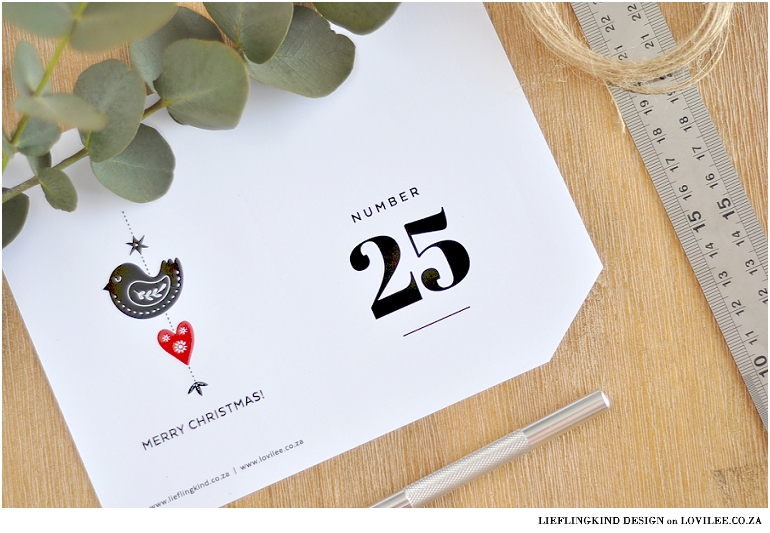
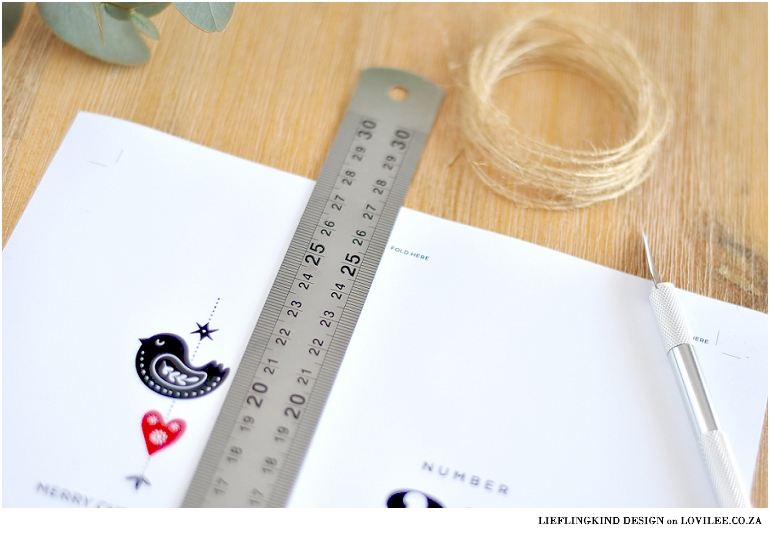
Step by step instructions
Small black cards
- Score each black card by lining your ruler up with the dotted lines on each side. Score each card lightly with the back of your cutting knife, going through the centre.
- Using your ruler and cutting board, cut along the outlines of the individual cards & fold in half, using the score marks as guides.
- Be sure to cut out 25 cards.
Here with a small video that might assist when folding the pouches
White pouches
- Using the dotted lines to line up your ruler, score each card lightly with the the back of the cutting knife. There is one line going from left to right at the bottom of the pouch and two going from top to bottom.
- Once each card has been scored, line your ruler up to the uninterrupted lines and cut around the border of the card.
- Once each card has been cut, line your ruler up with the skew line in the bottom right-hand corner and cut. Each card will now be rectangular with a skew corner at the bottom.
- Fold the horizontal score mark into the back of the card & then fold the vertical score marks over to form a pouch.
- Glue the pouch together using glue stick or two-way tape (depending on the weight of the gifts, we suggest using two-way tape for heavier gifts).
- Fill the pouch with gifts of your choice and fold the top of the pouch together in the opposite direction than the bottom.
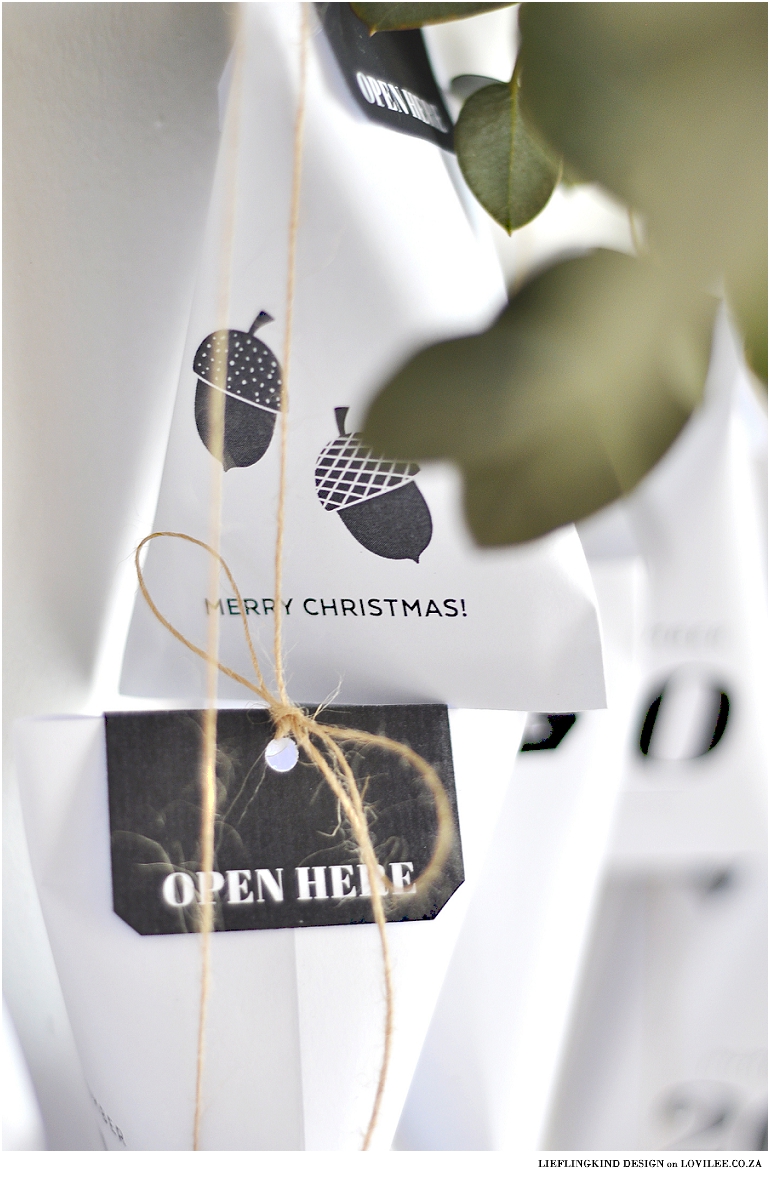
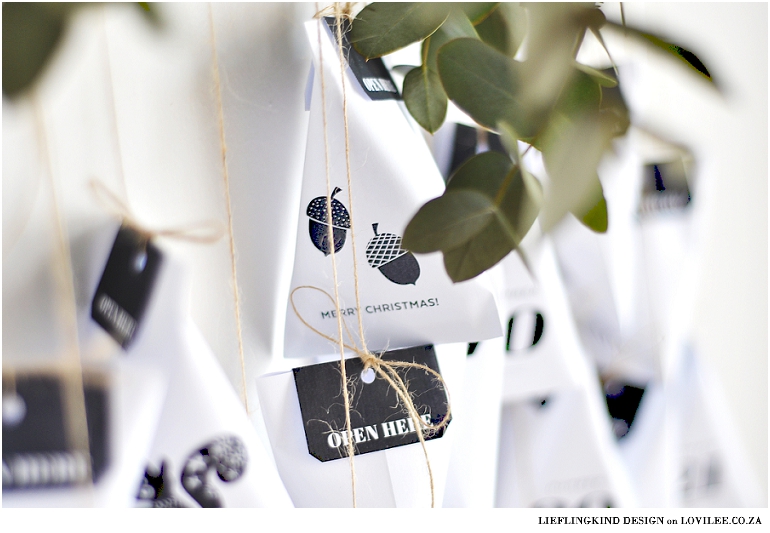
- Cover the opening with a small black card & punch a whole at the top, about 7mm from the edge, through both the black card and the pouch.
- Using a piece of bakers twine, tie a ribbon through the hole & leave an extra piece of twine (about 50cm+) attached so that you can hang it. Do this to all 25 of the advent calendar pouches.

To hang
- Use a piece of bakers twine and tie around the edges of the wooden pole. Find a suitable place to hang.
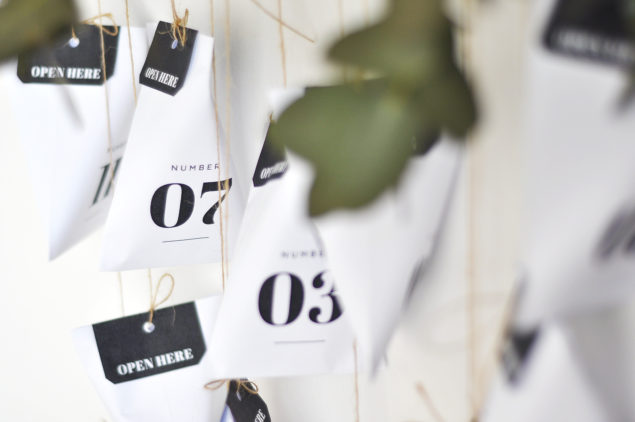
- Hang the individual pouches at different heights on the wooden pole. Number order isn’t important as the search for the number will be half the fun.
- Once all the pouches are hanging, use the remaining twine to tie pieces of penny gum to the top of the pole to round your design off.
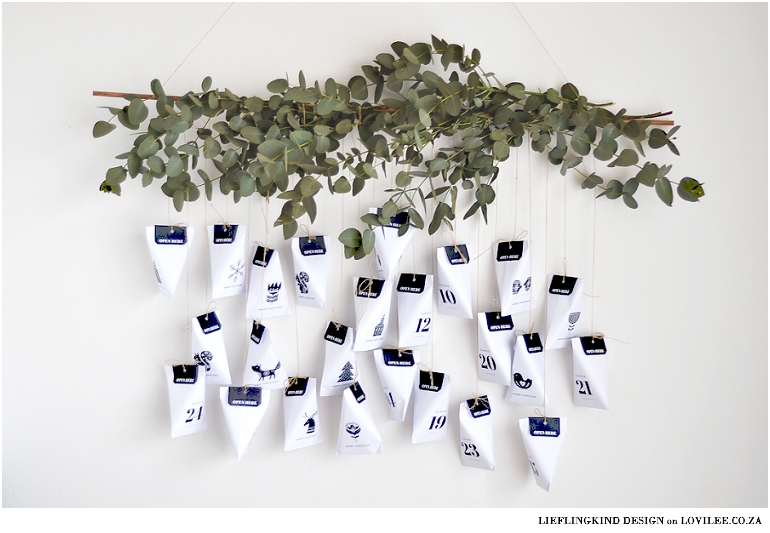
*Side note: Feel free to try something different by spraypainting the penny gum in white or gold and letting it dry before you hang it to the pole.
Wishing you a fantastic time preparing for the festive season!
You might also want to have a look at some of the previous Advent calendars we shared here.
Let's get social
Instagram: @lovilee_zaTwitter: @lovilee_za
Facebook: @lovileeblog
or subscribe to never miss out on any new articles in this link.



Comments are closed.