
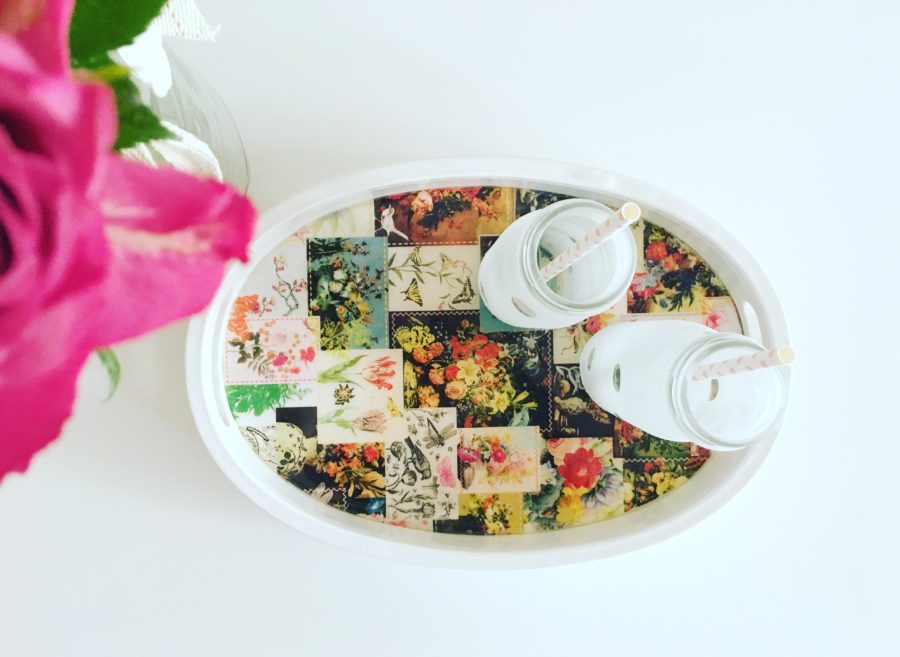
Want to add a little more privacy to your home without replacing your windows or doors, or do you simply want to do a DIY on a glass bottle or two? This easy DIY frosted glass project is a simple way to transform clear glass and give it a beautiful, frosted finish.
Frosted glass can be used on bathroom windows, doors, cupboards, office windows and other glass surfaces where you’d like a little more privacy without losing natural light.
Here’s how we gave our glass a frosted-glass effect with a simple DIY technique.
What is frosted glass?
Frosted glass is glass that has been treated so that it becomes translucent rather than completely clear. It allows light through while obscuring the view through the glass. It’s both practical and decorative, which makes it particularly useful in spaces such as bathrooms, entrances and rooms where you want privacy without blocking out daylight.
And you don’t necessarily need to replace your existing glass to get the look.
How to frost glass yourself
There are several ways to create a frosted-glass effect, including frosted-glass spray and frosted window film.
In our previous house I frosted our patio door’s glass as well as our one shower door with Rust-Oleum Frosted Glass Spray paint available from Builders Warehouse.
This spray paint is a really easy to use and dries in minutes. It takes a bit of practising to get the spraypainting done perfectly but once you get the motion you will be able to get this done quick and easy.
A spray paint frosted glass product is also great for use to add a personal touch to drinking glasses, coasters or even gift jars.
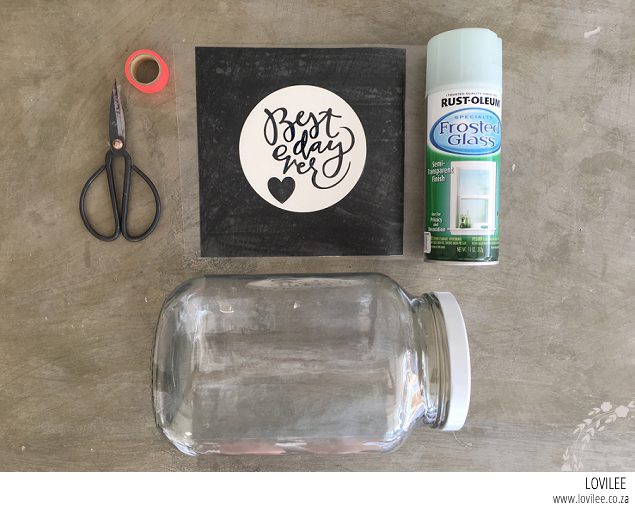
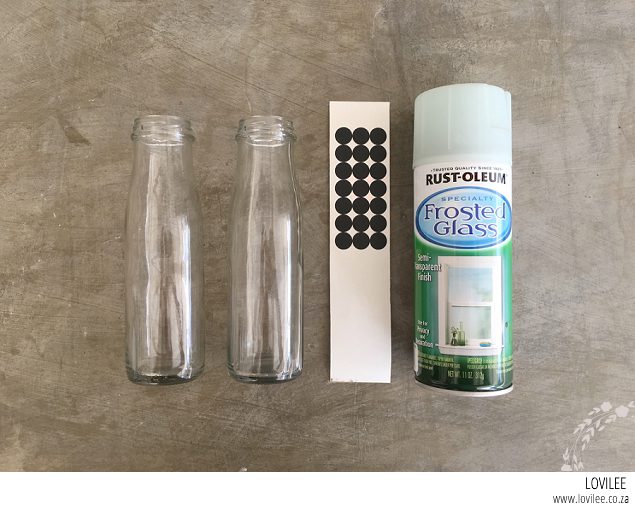
What you will need to frost your own glass bottles using a frosted glass paint?
- Rust-Oleum Frosted Glass Spray paint
- Masking tape, washi tape or sello tape
- Some old newspapers or cardboard
- Pattern of your choice
- Scissors or a kraft knife
- Self-adhesive plastic for the pattern, preferably not see-through ones. You can also make use of vinyl letters or patterned stickers
- Bucket with water and a damp cloth
- Mentholated spirits
Tip: Before starting, read and follow the instructions and safety precautions supplied with the product you’re using.
A quick guide on how to frost a window or glass using Frosted spray paint
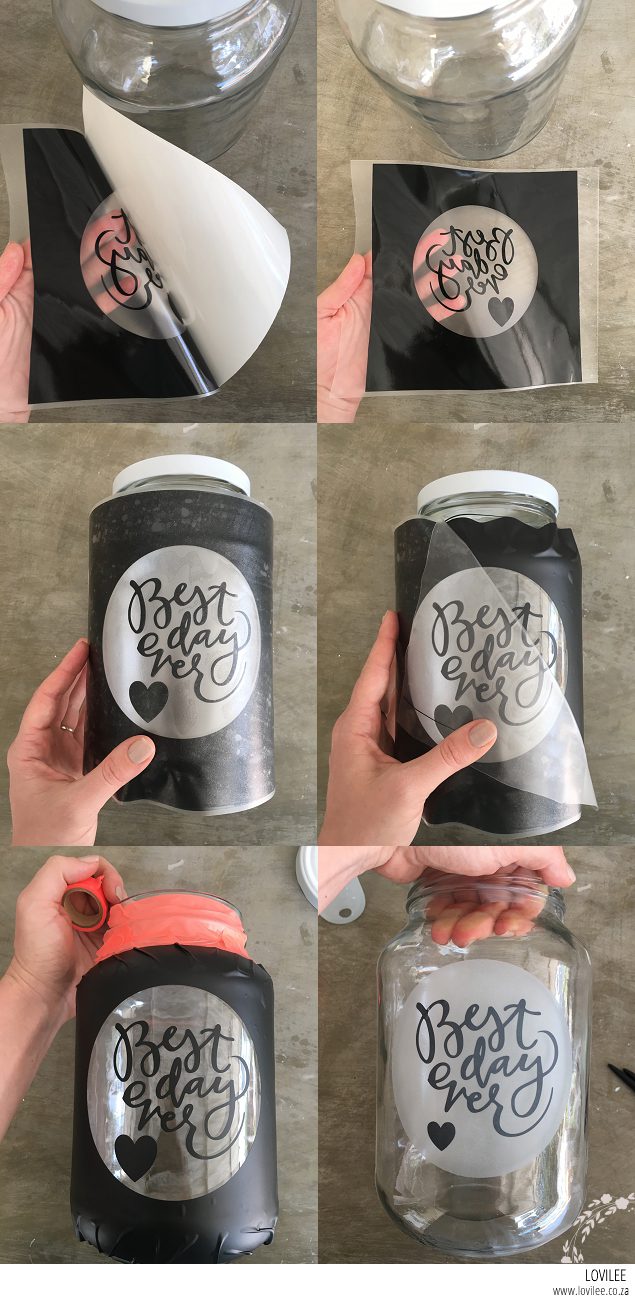
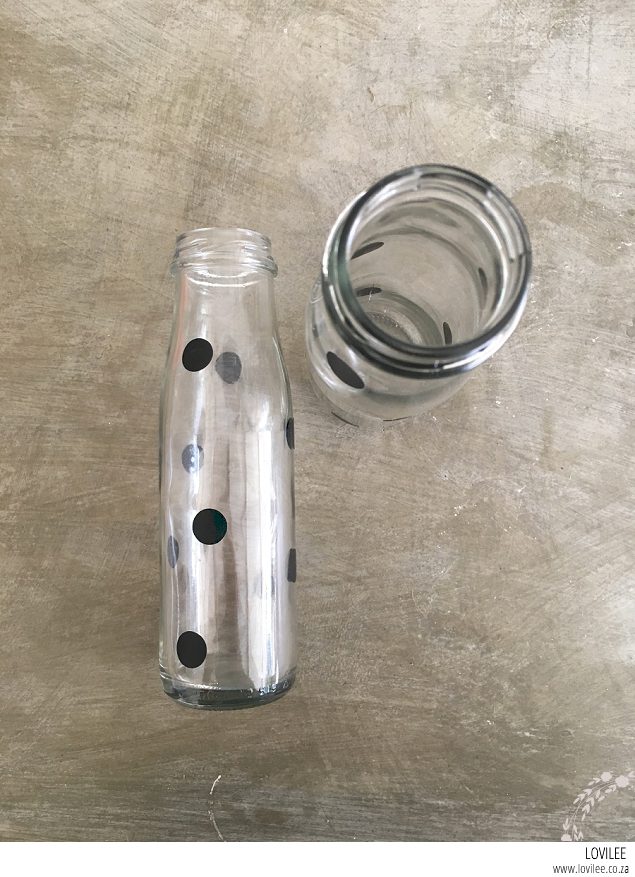
Step 1: Prepare the glass
Start with a clean, dry glass surface. This is an important step because dust, dirt and fingerprints can affect the final finish. Clean the glass thoroughly and make sure it is completely dry before you begin.
If you’re working around a window frame, door frame or other area that you don’t want to frost, protect those surfaces using the preparation method shown in the original DIY.
Step 2: Cut the vinyl into the perfect sizes that you require
Frosted vinyl is sold on a meter by meter basis. It is basically a decorative film that you can cut into pieces to stick onto windows or smaller items. It is easily removeable but unfortuanately not reusable. You can either trace a pattern and cut it out by hand or use a vinyl cutting machine like a Cricut.
You can really get creative with this step and do not have to make use of vinyl, using washi tape to make lines or even rope or wool to make patterns.
Step 3: Protect the surface you do not want to spray
Stick tape around the surface area that you wish to protect from the frosting spray paint.
Step 4: Prepare your work area
Make sure your work area is properly prepared before applying the frosting product. If your particular product requires ventilation or protective equipment, follow the manufacturer’s instructions.
Take your time with the preparation. A neat edge and a clean glass surface will make a big difference to the finished result.
Step 5: Spraypaiting the glass
Start spraying! You do not have to be afraid to spray too much the excess spray will turn to a powder that can just be dusted off afterwards. Some basic tips: Never spray downwards as there will be drops on your sprayed surface. Spraypaint in a left to right constant motion to create an even coverage holding the can approximately 25cm away from the spraypainted surface.
If you do get some spraypaint on your hands SprayerGuide.com has an awesome article on how to remove the paint from your hands here. They also have some really useful other articles that share very interesting articles on all kinds of paint and paint related issues. Have a look!
Step 6: Removing the vinyl film to show the pattern
Carefully remove the self-adhesive plastic from the surface and admire the lovilee results! It is important to remove the stickers immediately after painting as it will peel off some of the paint if you wait too long.
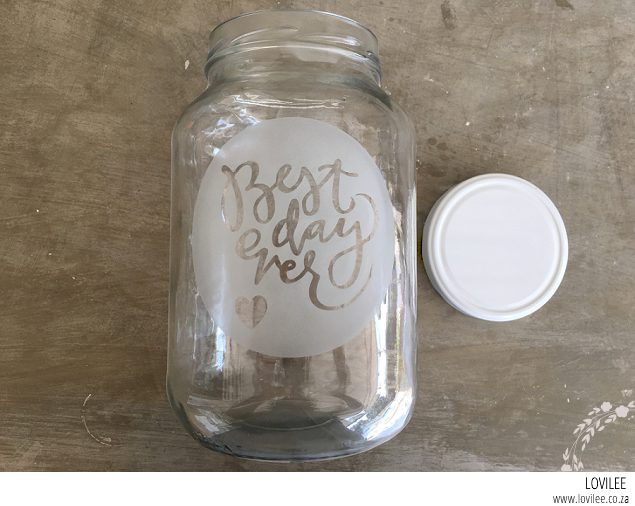
What project will you do if you got your hands on one of these spray-paint cans?
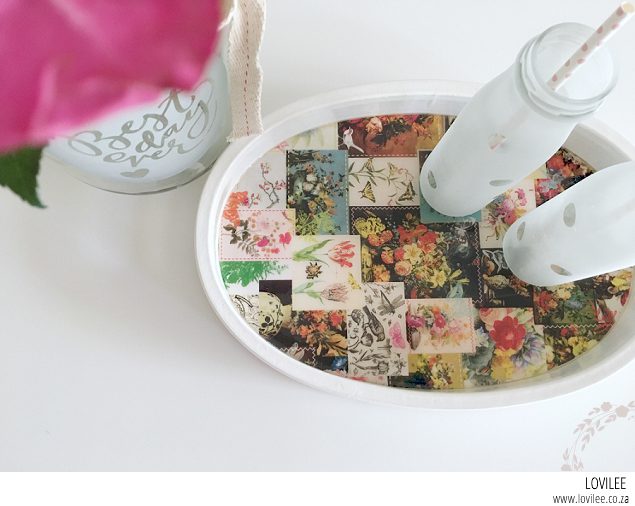
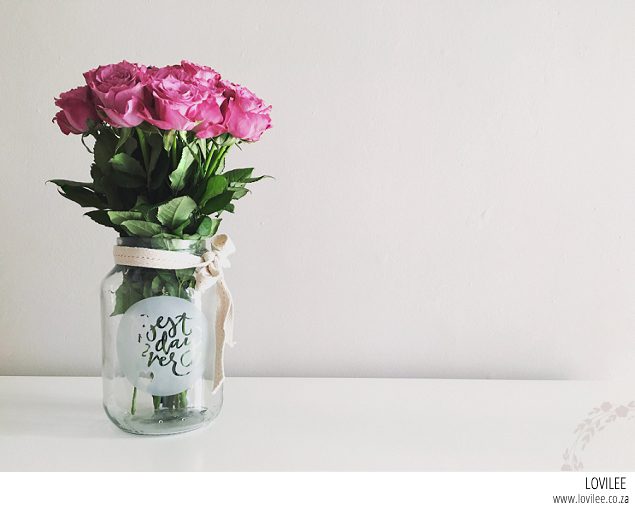
A quick guide on how to frost a window or glass using frosted vinyl
Step 1: Prepare the glass
Start with a clean, dry glass surface. This is an important step because dust, dirt and fingerprints can affect the final finish. Clean the glass thoroughly and make sure it is completely dry before you begin.
If you’re working around a window frame, door frame or other area that you don’t want to frost, protect those surfaces using the preparation method shown in the original DIY.
Step 2: Cut the vinyl into the perfect sizes that you require
Frosted vinyl is sold on a meter by meter basis. It is basically a decorative film that you can cut into pieces to stick onto windows or smaller items. It is easily removeable but unfortuanately not reusable. You can either trace a pattern and cut it out by hand or use a vinyl cutting machine like a Cricut.
Step 3: Apply the vinyl to the glass surface
Starting from the top pull away a piece of the paper backing, exposing the adhesive. Fold down the exposed backing to prevent it from curling back up.
Place the exposed adhesive onto the window and smooth it over using a plastic vinyl applicator / squeegee whislt at the same time pulling the backing paper away slowly. Continue in this fashion untill the window is fully covered.
See an easy to follow video clip in this link.
This is a sponsored post as per our standard disclaimers and disclosures.
Let's get social
Instagram: @lovilee_zaTwitter: @lovilee_za
Facebook: @lovileeblog
or subscribe to never miss out on any new articles in this link.



3 Comments
Love this! What a cool DIY project 🙂
Wow, this is amazing. Thank you for this!
Such a pleasure, send us some pics or tag us on Instagram with what you do!